
Last updated October 31, 2026
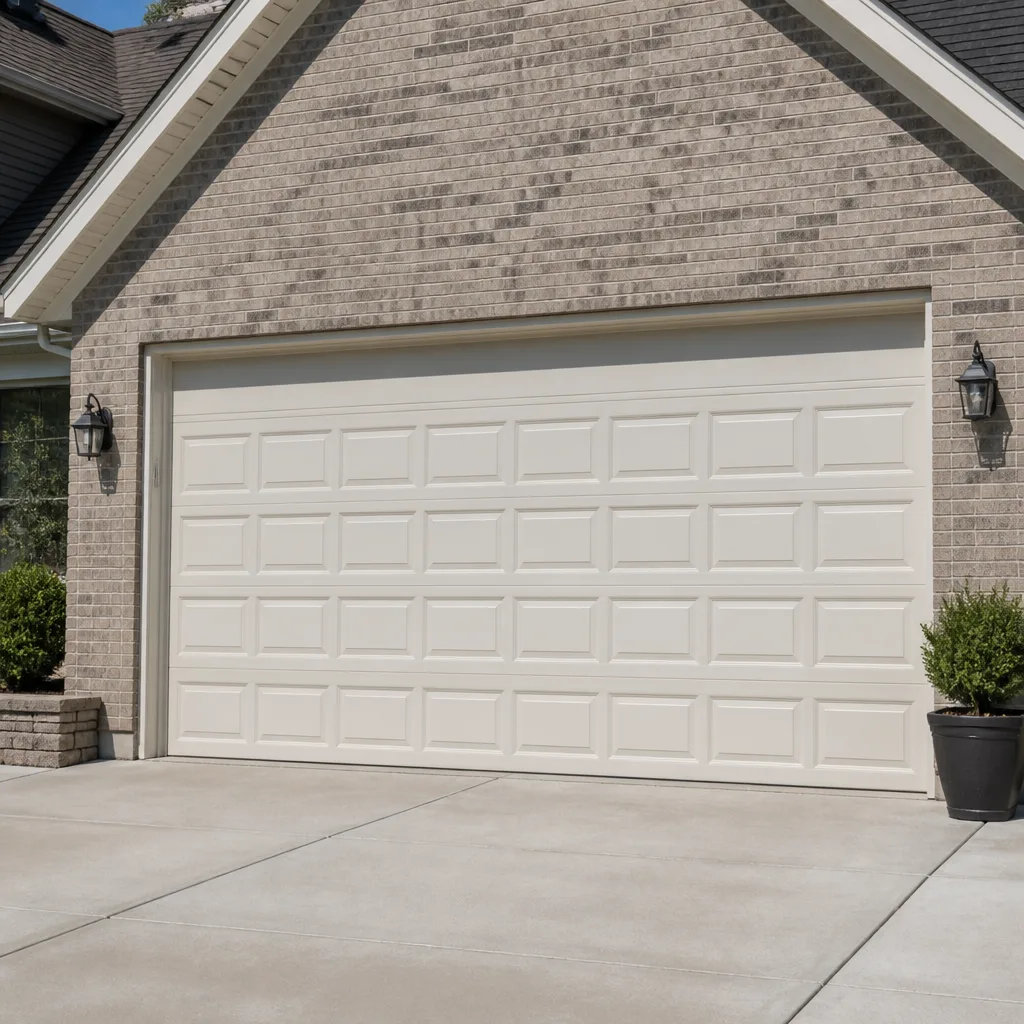 Raised-panel steel
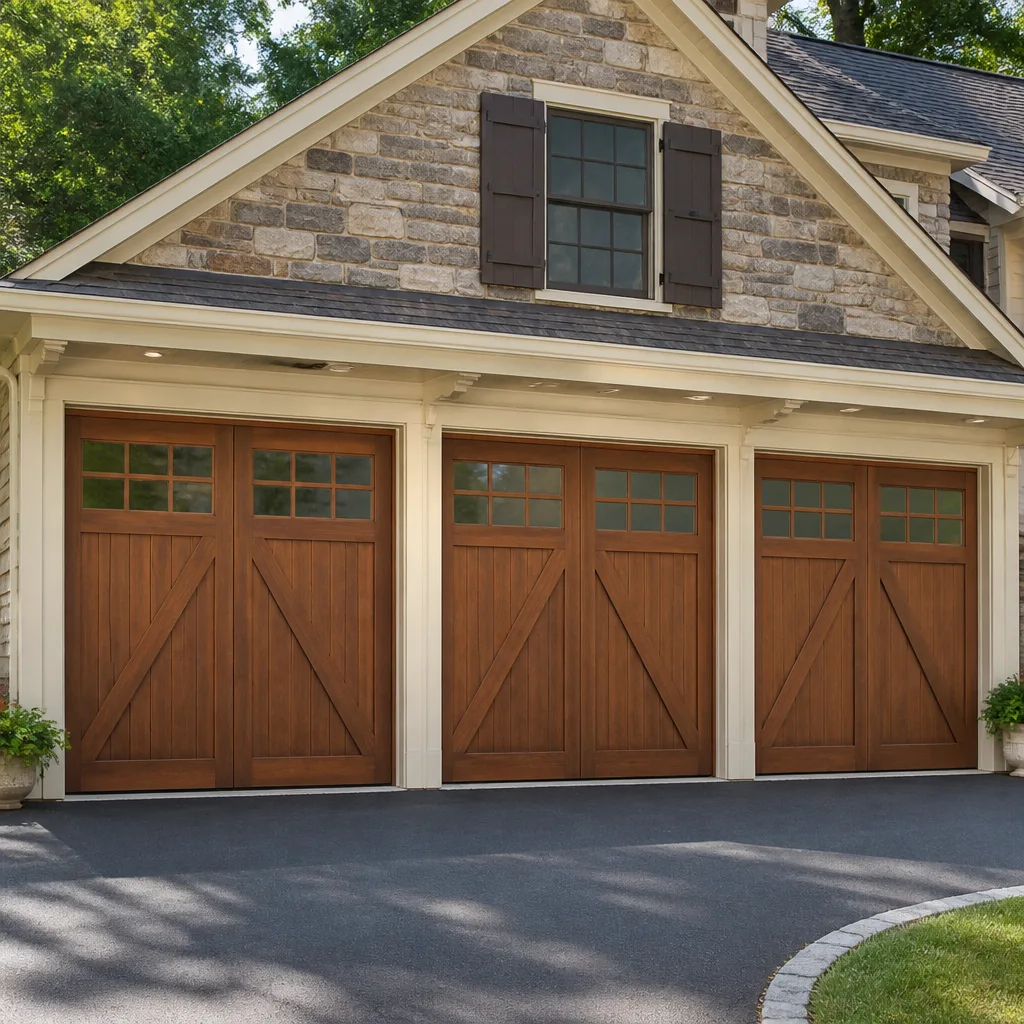 Carriage house
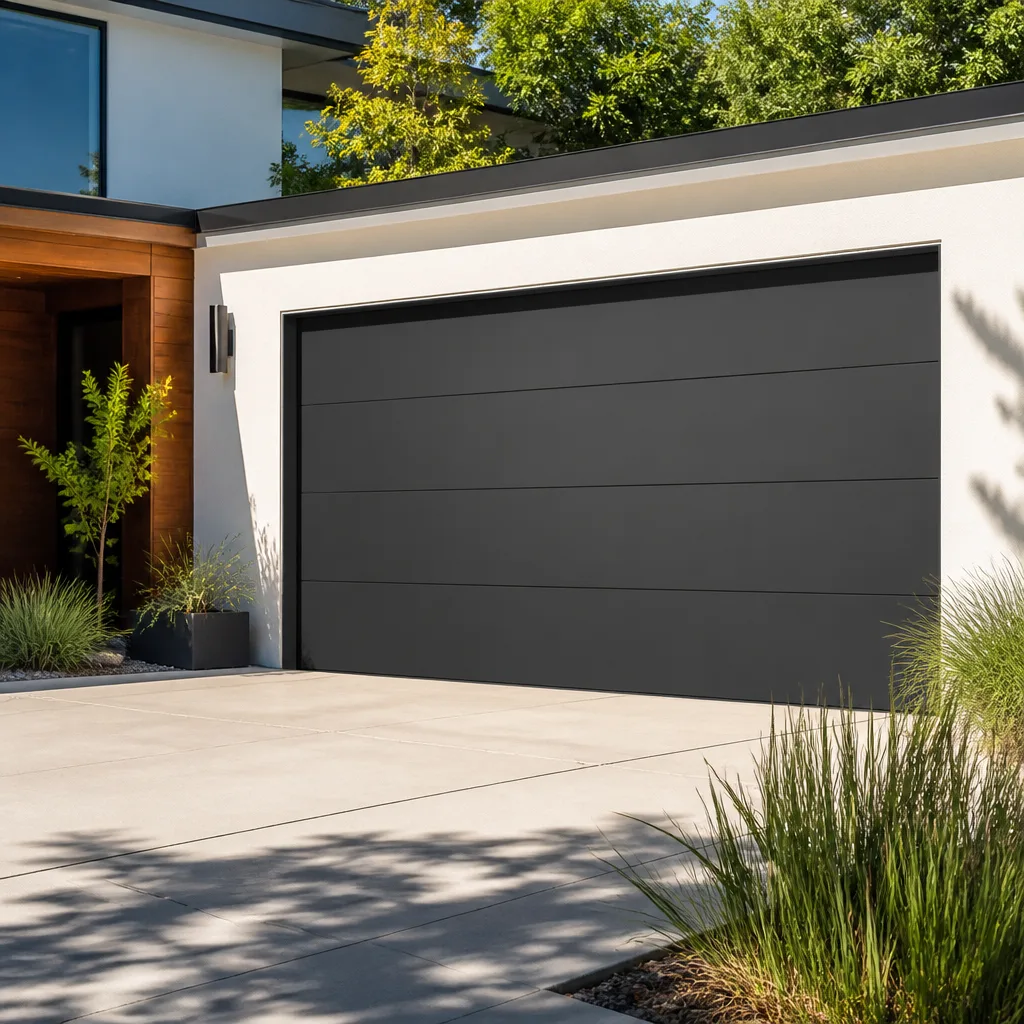 Modern flush
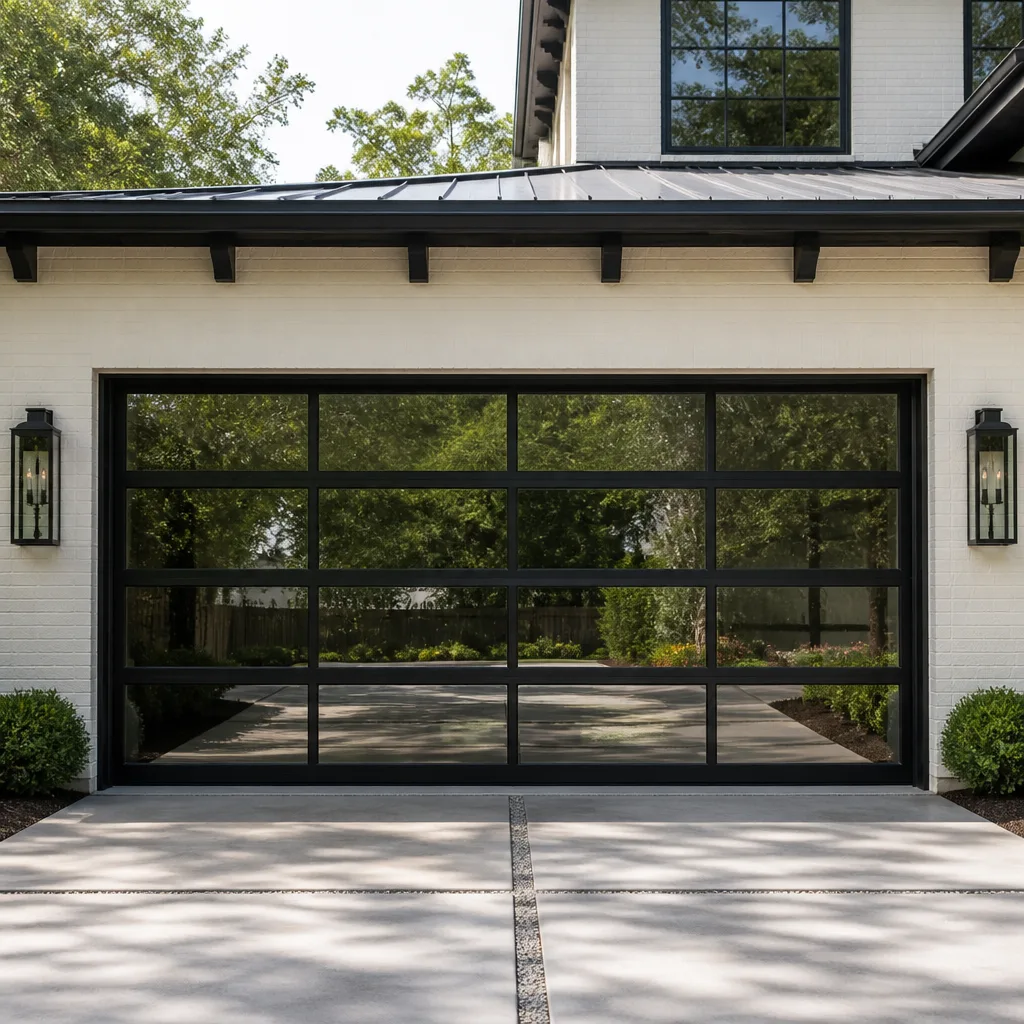 Full-view glass
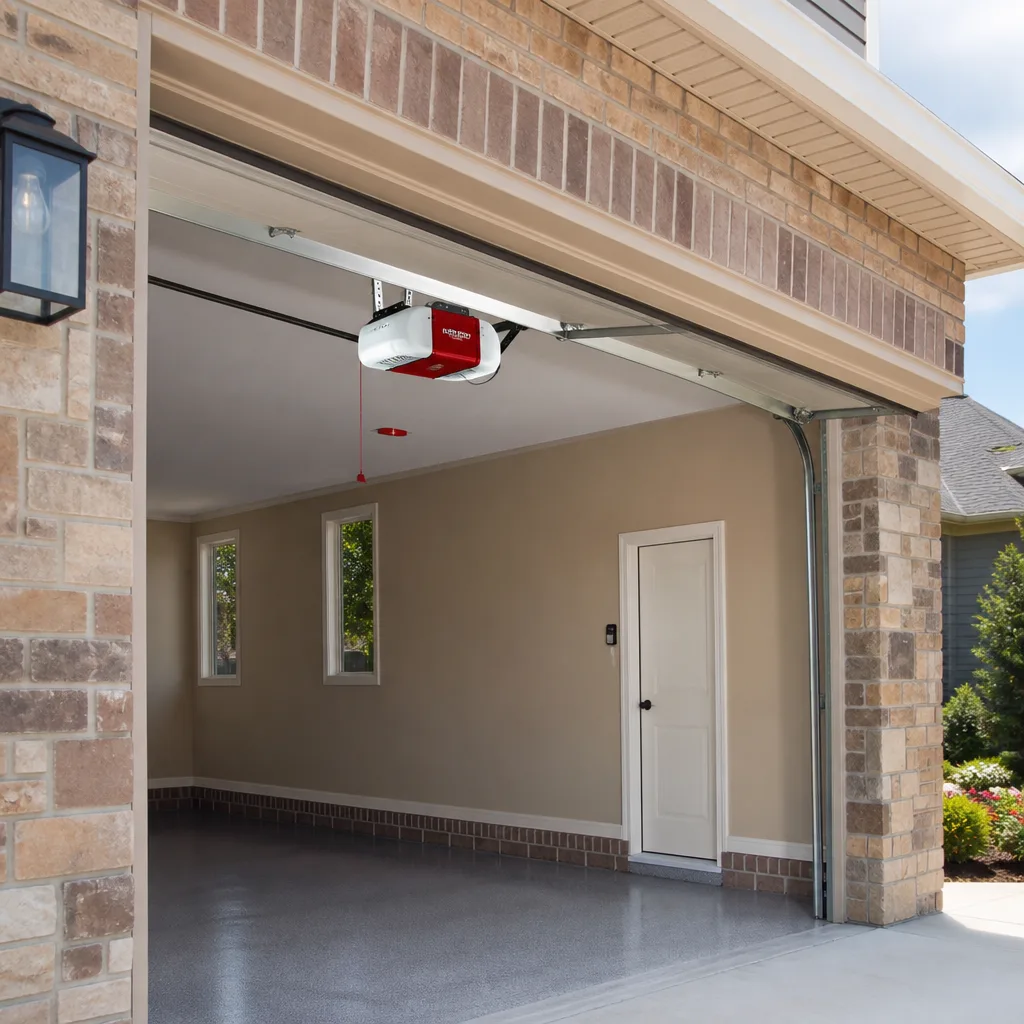 LiftMaster openers
 Chamberlain openers
Full 25-point door and opener safety check with every visit - springs, cables, rollers, tracks, and your LiftMaster or Chamberlain opener included
You get a price before we start. It does not change when the truck arrives.
Get your free estimateDIY vs Professional Garage Door: The Santa Ana Homeowner’s Decision Guide
Replacing a weatherstrip seal: a 20-minute YouTube project. Attempting a torsion spring swap after watching the same channel: one of the leading causes of serious home repair injuries in California. Here’s the thing most guides won’t tell you: the DIY vs. professional decision on a garage door isn’t really about your skill level or how handy you are. It’s about failure modes. Some tasks fail by annoying you. Others fail by dropping a 200-pound door on whatever happens to be underneath it. This guide breaks down exactly which is which, where Santa Ana homeowners get into trouble, and when the right move is to pick up the phone instead of the toolbox.
Quick Answer
Most garage door maintenance in Santa Ana is genuinely DIY-suitable: lubrication, weatherstrip replacement, sensor cleaning, and visual inspections are all reasonable homeowner tasks. But anything involving torsion springs, lift cables, or opener logic boards should be handled by a trained professional, because the failure mode is severe injury or property damage, not a cosmetic imperfection. The practical split: about 20% of garage door work is safe DIY, another 30% is technically possible but not worth your time or risk, and the remaining half should never be attempted without proper training and tools.
Styles & brands we work with
Table of Contents
- The DIY Safety Matrix: What’s Safe, What’s Sketchy, What’s Stupid
- How Santa Ana’s Climate Changes Your Garage Door Math
- The Hidden Costs of DIY: Parts, Tools, and Callback Repairs
- Legitimate DIY Maintenance That Extends Professional Service Intervals
- When Delaying a Repair Turns $150 Into $900
- California Liability and Homeowner’s Insurance: What Happens When DIY Goes Wrong
- Brand Compatibility: Why Knowing Your Opener Matters More Than You Think
- Common Mistakes to Avoid
- When to Call a Professional
- Frequently Asked Questions
The DIY Safety Matrix: What’s Safe, What’s Sketchy, What’s Stupid
We’ve organized every common garage door task into three categories based on what actually happens when the repair goes sideways. This isn’t a measure of difficulty. It’s a measure of consequence. A task can be technically simple and still belong in the “never DIY” column because the cost of failure is measured in emergency room visits rather than return trips to the hardware store.
Tier 1: Genuinely DIY-Safe (Failure Mode: Mild Annoyance)
These tasks share a common trait: when they fail, the result is that the door still doesn’t work right, and you try again or call someone. Nobody gets hurt, nothing gets damaged, and you haven’t made the problem worse.
- Weatherstrip replacement: The rubber seal along the bottom of the door degrades in Santa Ana’s dry heat and occasional heavy rain. Replacing it takes under an hour with basic tools. Failure mode: it doesn’t seal perfectly and you redo it.
- Lubrication: White lithium grease on hinges, rollers, and the opener chain. A can costs about $8 at any Santa Ana hardware store. Failure mode: you use too much and it drips on your car.
- Photo eye sensor cleaning: The small sensors near the floor on either side of the door track collect dust and spider webs. Wipe them with a dry cloth. Failure mode: the door still reverses and you call us anyway.
- Track bolt tightening: Check the bolts holding the vertical and horizontal tracks every few months with a socket wrench. Failure mode: you strip a bolt and replace it with a matching one.
- Visual inspection: Look at cables, springs, rollers, and hinges monthly. You’re not fixing anything. You’re noticing problems early. Failure mode: none. This is pure upside.
- Remote battery replacement: If your LiftMaster or Chamberlain opener remote stops working, try the battery first. It’s a $3 fix that resolves a surprising percentage of “opener is dead” calls. Failure mode: you buy the wrong battery size and return it.
Tier 2: Technically DIY-Capable But Not Worth It (Failure Mode: Time Sink, Then You Call Anyway)
These are the tasks that YouTube makes look straightforward but that punish you in unexpected ways. The parts cost more than you expect without trade accounts. The specialized tools you need cost more than a service call. And when your attempt falls short, the professional has to undo your work before starting theirs, which occasionally costs more than the original repair would have.
- Roller replacement: The rollers along the sides of the door wear out and get noisy. The bottom roller on a lift cable door is under spring tension and should not be removed casually. Many homeowners get the top rollers replaced and then discover the hard way why the bottom ones are different.
- Opener remote programming: Modern LiftMaster and Genie openers use rolling code technology. The programming sequence is specific and unforgiving. It’s not that you can’t do it. It’s that the 40 minutes you spend trying to figure out why it’s not pairing is 40 minutes you don’t get back.
- Hinge replacement: Simple in theory: remove two bolts, swap the hinge, replace two bolts. The complication: the door section is under weight in ways that aren’t obvious until it shifts on you. A helper and proper bracing make this viable, but most homeowners don’t have a second set of hands available during the workday.
- Opener wall button replacement: The wiring is low voltage and safe. The complication is that some Chamberlain and Craftsman models use proprietary button wiring. Wire it wrong and the opener behaves unpredictably.
The rule of thumb: If the task requires a tool you’d have to buy or rent, and the tool costs more than $40, the service call was the cheaper option all along.
Tier 3: Never Attempt Without Training (Failure Mode: Hospital or Property Damage)
There is no amount of YouTube preparation that makes these tasks safe for an untrained homeowner. The risk isn’t that you’ll do a bad job. The risk is that the stored energy in the system will release suddenly and unpredictably.
- Torsion spring replacement or adjustment: A torsion spring holds the weight of your entire door. When it uncoils suddenly, it releases that energy into whatever is nearby, usually the person holding the winding bars. In California, this is one of the most common sources of serious home-repair hand and face injuries.
- Cable replacement: The lift cables run alongside the door and carry the full door weight when the spring is disconnected or fails. If a cable snaps or slips while you’re working on it, the door drops fast. There is no reaction time.
- Track realignment or replacement: The tracks guide the door through its entire travel path. If a track is misaligned and the door is under spring tension, attempting to bend or reposition the track can release that tension catastrophically.
- Opener logic board replacement: This one won’t injure you, but it will frustrate you beyond reason. The boards on modern openers from Chamberlain, LiftMaster, and Genie are not designed for field repair by novices. Wrong wire, wrong port, or a static discharge kills the board you just bought. We’ve replaced boards that were new in the box, fried by an installation attempt.
- Any spring-related adjustment after a door has been hit: If a car backed into the door and the door still opens unevenly, the spring has been compromised. Working on it without replacing it is how doors fly up or slam down mid-repair.
If you’re unsure which tier a task falls into, the question to ask is: what happens if this goes wrong while I’m doing it? If the answer involves a spring, a cable, or the full weight of the door moving suddenly, call someone who does this every day. Our Garage Door Repair in Santa Ana service covers the full range of what’s safe to hand off.
How Santa Ana’s Climate Changes Your Garage Door Math
Santa Ana homeowners deal with a specific set of garage door conditions that someone in, say, Seattle or Phoenix doesn’t face in the same way. The city sits about 10 miles from the Pacific, and that distance creates a dry, warm climate with periodic Santa Ana wind events that blow dust and debris into every track, seal, and sensor gap. Combine that with the sun loading on south-facing doors during summer, and you get a predictable pattern of wear and failure.
Heat and Sun Exposure
Garage doors in Santa Ana, particularly those on south and west exposures, see surface temperatures that routinely exceed 140 degrees Fahrenheit in July and August. That heat does three things. It dries out weatherstripping until it cracks and splits. It accelerates paint fading and panel warping on uninsulated steel doors. And it degrades the internal lubricant in your opener’s rail and your door’s rollers faster than the manufacturer’s maintenance schedule assumes.
The practical takeaway: if your door faces the afternoon sun in Santa Ana, you should be lubricating twice a year rather than once, and your weatherstrip will need replacing every two to three years rather than every five. This is the kind of local knowledge that comes from working on doors in this specific climate, not from a generic national guide.
Santa Ana Wind Events
The eponymous Santa Ana winds, those dry offshore gusts that arrive in fall and winter, do more than blow leaves around. They push fine dust and grit into the door’s tracks, rollers, and photo eye sensors. This grit acts like sandpaper on moving parts, accelerating roller wear and occasionally causing the door to bind mid-travel when it hits a rough patch of accumulated debris.
After any significant Santa Ana wind event, spend five minutes checking the bottom weatherstrip for embedded grit and wiping down the visible track sections. This single habit, done a few times a year, prevents most of the grinding and sticking complaints we hear from Santa Ana homeowners.
The Ocean-Close Corrosion Factor
Santa Ana’s inland position means coastal salt fog is less of an issue than it is in Huntington Beach or Newport Beach, but it’s not zero. Homes west of the 55 or within a few miles of the Costa Mesa border still get enough marine influence to require galvanized or powder-coated hardware on garage doors. If you’re buying replacement hinges, bolts, or track components, pay the extra few cents for corrosion-resistant versions. The standard hardware rusts fast enough to be a false economy.
The Hidden Costs of DIY: Parts, Tools, and Callback Repairs
Every DIY garage door repair looks cheaper on paper. That’s the appeal, and sometimes it’s even true. But the comparison usually falls apart when you account for the full cost picture. Here’s what the YouTube video doesn’t show you.
Parts Cost Without a Trade Account
When you buy a replacement roller, hinge, or spring from a retail parts supplier, you’re paying retail. That’s obvious. What’s less obvious is that the retail markup on garage door parts is substantial, typically 40 to 80 percent above what a garage door service pays with a trade account. A torsion spring that costs us a little under $50 might cost you $85 to $110 at retail. By the time you add a second spring (because torsion springs are installed in pairs to keep tension balanced), you’ve spent more on parts alone than a professional service call would have cost for the entire repair.
The same math applies to opener parts. A replacement circuit board for a Genie or LiftMaster opener is a special-order item at retail, usually with a restocking fee if you misdiagnosed the problem. We carry what we carry because we’ve already learned, across hundreds of service calls, which parts actually fail. You’re buying a guess.
Tool Costs and the Single-Use Problem
Let’s say you decide to handle a torsion spring replacement yourself, despite everything in this guide telling you not to. You’ll need a pair of winding bars, which cost $30 to $45. You might need a spring gauge, another $20. If you’re adjusting or replacing a cable, you’ll want a cable puller and possibly a come-along, another $60 to $90 combined.
These are not tools you’ll use again next week. The winding bars have one purpose. The spring gauge has one purpose. By the time you’ve assembled the kit, you’ve spent $110 to $155 on tools that will sit in a drawer until you move or throw them out. Meanwhile, our garage door repair in Santa Ana service arrives with everything needed, parts and tools included in the quoted price.
The Callback Penalty: When DIY Attempts Become Professional Re-dos
This is the cost no one budgets for. You attempt a repair, it doesn’t work (or it sort of works but the door now makes a new noise), and you call a professional anyway. The professional arrives to find a half-installed spring, a stripped bolt, a misaligned sensor, or a logic board that was never the problem. The job is now more complicated than it would have been on day one, so it costs more than it would have on day one. You’ve paid for parts, tools, possibly a new part damaged during the attempt, and now a more expensive service call.
In our experience, DIY attempts gone wrong account for roughly one in five service calls where the total bill is 20 to 40 percent higher than it would have been as a straight repair. The margin is the cost of undoing, not the cost of doing.
Legitimate DIY Maintenance That Extends Professional Service Intervals
This guide has spent a lot of time telling you what not to do. Here’s the constructive side: specific maintenance routines you can perform in Santa Ana that will legitimately reduce how often you need professional service and catch problems before they escalate.
Step-by-Step: Monthly Visual Inspection (10 Minutes)
- Close the door fully and stand inside the garage. Look at the torsion spring above the door. Check for gaps in the coils, rust spots, or any visible separation. Note anything unusual.
- Look at the cables on both sides of the door. You’re checking for frayed strands, especially near the bottom bracket where cables attach to the door.
- Run your eyes along both horizontal and vertical tracks. Look for bent sections, accumulated grime, or loose mounting bolts.
- Check each roller for cracks, flat spots, or wobble. Rollers should roll, not slide or drag.
- Look at the weatherstrip along the bottom. Check for cracks, gaps, or sections that have pulled away from the retainer.
- Test the door’s auto-reverse feature monthly: place a piece of wood flat on the ground in the door’s path and close the door. It should reverse within two seconds of contact.
This inspection costs nothing and takes less time than watching one YouTube video about a repair you’re now not going to need as urgently. The goal is to notice a $40 problem before it becomes a $400 problem.
Step-by-Step: Biannual Lubrication (20 Minutes)
- Buy white lithium grease in a spray can with a narrow nozzle, or a silicone-based garage door lubricant. Do not use WD-40. WD-40 is a solvent, not a lubricant, and it strips the protection you already have.
- Close the door and disconnect the opener by pulling the release cord. This prevents the door from moving while you work.
- Apply a thin coat of lubricant to each roller bearing: the point where the roller meets its stem. Do not lubricate the nylon roller face. It just attracts grit.
- Apply lubricant to each hinge pivot point where the hinge halves meet. You’ll see the movement point when you watch the hinge flex.
- Apply a thin line of lubricant along the opener rail where the trolley slides. On chain-drive openers, lightly lubricate the chain itself.
- Apply a small amount to the torsion spring coils. The lubricant should sit in the gaps between coils. You’re preventing rust and friction, not coating the whole spring in a visible layer.
- Reconnect the opener and run the door through one full open/close cycle. Wipe away any drips.
In Santa Ana’s climate, follow this routine in spring and fall. The fall session takes on extra importance because it preps the door for the dry, dusty Santa Ana wind season.
When Delaying a Repair Turns $150 Into $900
This is the section where we talk about the true cost of “I’ll do it myself later.” The problem with deferred maintenance on a garage door is that every issue compounds. A door that’s slightly out of balance today is not a door that’s slightly out of balance next month. It’s a door that has been wearing its rollers, cables, and hinges unevenly for 30 days, and it has already started to telegraph that damage through the entire system.
Here’s a real sequence we see regularly in Santa Ana:
Day 1: A homeowner notices the door is a little noisy, maybe a slight grinding sound. It’s a worn roller. A replacement costs about $150 including the service call. The homeowner decides it can wait.
Week 4: The worn roller has stopped rolling and started sliding. This creates friction in the track. The door now jerks slightly during operation. The homeowner notices but continues to hit the wall button. The jerking motion starts wearing the other rollers unevenly.
Week 8: The friction from the seized roller has caused the door to climb slightly out of alignment in the track. One of the lift cables, now bearing uneven tension, begins to fray where it connects to the bottom bracket.
Week 12: The cable snaps. The door, now supported by only one cable, drops and torques out of its track. The door is off. The car is trapped in the garage. The repair now involves the original roller, a new cable set, a track realignment, and possible damage to the door section where the bracket pulled through.
The $150 roller replacement became a $900 off-track recovery. The time window is not exaggerated. This exact progression, or a version of it, accounts for a meaningful percentage of our garage door repair calls in Santa Ana.
The rule: if you notice a new sound, a new vibration, or a change in how smoothly the door moves, you are in the cheapest window to fix it. That window closes fast. Calling for an estimate costs you nothing, and our prices are quoted and agreed before any work starts.
California Liability and Homeowner’s Insurance: What Happens When DIY Goes Wrong
This is the section every generic DIY garage door guide skips, and it’s the one that matters most when something goes badly wrong. In California, the legal and financial consequences of self-performed garage door repair that causes damage or injury fall entirely on the homeowner, and they’re not always covered by insurance.
The Insurance Coverage Question
Standard California homeowner’s insurance covers accidental damage to your home and liability for injury to visitors. But when an insurance adjuster determines that the damage was caused by an unpermitted repair attempt, especially one involving a garage door spring under torsion, the claim can be denied on the grounds of homeowner negligence. The exact wording varies by policy, but the principle is consistent: coverage protects you from accidents, not from the foreseeable consequences of improperly maintained equipment that you attempted to repair yourself.
If a DIY torsion spring attempt results in a door falling onto a car parked in the driveway, the insurance company will investigate. If they find the spring was adjusted or replaced by an unlicensed homeowner, the claim for both the door damage and the vehicle damage may be denied. That’s a multi-thousand-dollar out-of-pocket expense that could have been avoided with a professional repair in the $200 to $400 range.
The Liability to Others
If someone else is injured by your garage door, and the investigation traces the injury to a faulty DIY repair, your personal liability is significant. This includes delivery drivers hit by a falling door, children injured by a door that didn’t auto-reverse because the sensors were miswired during a DIY attempt, and neighbors whose property was damaged when a door detached from its track and rolled into their yard.
In California, a licensed and insured garage door professional carries liability coverage for these scenarios. That coverage is part of what you’re paying for. When a Santa Ana professional repairs your door, the risk of the repair itself is transferred to the professional’s insurance, not retained on your homeowner’s policy.
The Permit Question
For most garage door repairs, no permit is required in Santa Ana. Repairs are considered maintenance. But if the door or its opening is altered structurally, or if the repair involves replacing the entire door assembly during a remodel, a building permit may be required depending on the scope. The Door and Access Systems industry association maintains state-by-state guidance on this. We’re familiar with the local requirements and can tell you during an estimate whether your specific job needs anything beyond a service call. If you’re unsure, it’s worth asking before you start cutting into framing.
Brand Compatibility: Why Knowing Your Opener Matters More Than You Think
Here’s something most homeowners don’t realize until it bites them: not every garage door professional is equally familiar with every brand. A shop that pushes one opener line, usually because they’re a dealer for that manufacturer, will naturally steer you toward that brand whether or not it’s the right fit for your existing setup. That’s the opposite of what you want as a homeowner with, say, a 12-year-old LiftMaster opener and a Chamberlain wall button from a previous owner’s install.
Royal Garage Door Co is trained and experienced with eight major garage door and opener brands: LiftMaster, Chamberlain, Genie, Clopay, Amarr, Wayne Dalton, Craftsman, and Raynor. That’s not a marketing line. It means when we arrive at a Santa Ana home with a Genie opener and a Clopay door, we know the specific quirks of that pairing before we even open the garage.
Why does brand familiarity matter? Because garage door systems are not fully interchangeable. A Chamberlain opener doesn’t always play nicely with a Wayne Dalton door without specific adapter hardware. A LiftMaster logic board is not a drop-in swap for a Craftsman board, even when both are owned by the same parent company. The programming is different. The sensor compatibility is different. The remote pairing process is different. When a professional already knows your brand, you don’t pay for their learning curve.
This is particularly relevant for opener repair, which is surprisingly underserved. Plenty of door companies will replace a panel or a spring. Opener diagnosis and repair, especially board-level work on LiftMaster, Genie, and Chamberlain units, requires a different skill set. Our garage door opener repair in Santa Ana service is a core specialization, not an afterthought. The fix is usually a component replacement or a calibration adjustment, not a full opener swap. And that’s the difference between a $150 repair and a $600 replacement that may not have been necessary.
If you’re not sure what brand your opener or door is, check the motor housing on the opener for a label, or look at the inside edge of the door’s bottom panel for a stamped name. Knowing this before you call speeds up any estimate conversation, including ours.
Common Mistakes to Avoid
- Using WD-40 on garage door rollers and tracks. This happens constantly. WD-40 is a degreaser and a moisture displacer. It strips lubricant rather than adding it, and it attracts dust in Santa Ana’s wind season. Use white lithium grease or a dedicated garage door lubricant instead.
- Disconnecting the opener under spring tension. If the door is about halfway up and you pull the red release cord because you want to “see what happens,” what happens is the door slams down if the spring is weak or broken. The release cord should only be pulled when the door is fully closed or fully open.
- Tightening the torsion spring “just a little” by feel. A torsion spring adjustment is measured in quarter turns, not in gut feeling. Over-tightening by even one full turn can make the door fly up and strain every hinge, roller, and bracket. Under-tightening leaves the door heavy and causes the opener to burn itself out prematurely.
- Assuming all rollers are interchangeable. The top rollers on most doors are different from the bottom rollers. The bottom rollers are attached to the lift cable system and often require removing tension before they can be safely replaced. Interchanging them without understanding the difference creates a dangerous imbalance.
- Buying parts before diagnosis. The internet makes it easy to order a replacement sensor, a new logic board, or a spring kit before anyone has actually confirmed the problem. A significant share of our service calls in Santa Ana begin with a homeowner who bought the part, installed it, and discovered it wasn’t the issue. The original problem remains, plus they’ve spent money on a part that wasn’t the fix.
- Ignoring a squealing door for months. A squeal is metal on metal, or a roller that’s no longer rolling. It’s not a personality quirk. It’s early-stage failure, and the repair is cheapest at that moment. Every week of ignoring it adds wear across the system.
- Assuming a newer opener means a safer door. The opener’s auto-reverse systems are only as good as the sensors and the door’s balance. If the door itself isn’t balanced correctly, the opener is working against that imbalance. A balanced door, regardless of opener age, is the foundation of the entire system’s safety.
When to Call a Professional
Call a professional if any of these are true: the door has come off its tracks, a cable is frayed or snapped, the door opens unevenly or jerks during travel, the opener motor runs but the door doesn’t move, you see a visible gap or damage in the torsion spring, or the door has been hit by a vehicle and still operates. These scenarios share a common trait: the problem involves either stored spring tension or the full weight of the door moving outside its designed path. Neither is a condition you want to be standing near with a wrench in your hand.
Royal Garage Door Co offers free estimates in Santa Ana. We arrive prepared, we know your brand, and we quote the price before any work begins. Call (866) 808-7312 for service.
Frequently Asked Questions
Most residential garage door repairs in Santa Ana run between $150 and $450 depending on the issue. A roller replacement typically starts around $150, a cable replacement around $200 to $300 depending on door size and spring type, and a torsion spring replacement typically $250 to $450 for both springs (springs are replaced in pairs). Opener repairs range from $120 for a capacitor or gear replacement to $400 for a logic board replacement. Every price is quoted and agreed before work starts. Call (866) 808-7312 for an exact quote on your specific door.
No, you should not replace a torsion spring yourself. Torsion springs hold the full weight of the door under immense tension, and a failure during replacement releases that tension violently. This is one of the leading causes of serious home-repair injury in California. Even extension springs, which look simpler, have enough stored energy to cause serious harm if a cable slips. This is a repair for a trained professional with the correct winding bars and a license to back the work. Call (866) 808-7312 and have it done safely.
You’ll typically notice one of three things: the door feels unusually heavy when you open it manually (after disconnecting the opener), the door won’t stay open in the halfway position without support, or you see a visible gap in the torsion spring coils above the door. A heavy door is the most reliable early warning sign, and it means the spring is losing tension and needs attention before it fails completely. If you notice any of these in Santa Ana, call (866) 808-7312 for an inspection. Estimates are free.
Repair is almost always cheaper than replacement, and it’s the right call when the door’s panels, tracks, and spring system are structurally sound. A full door replacement runs $1,200 to $4,000 or more depending on materials, insulation, and hardware. Most repair work lands in the $150 to $450 range. The exception is when a door is 20-plus years old with rusting panels, multiple failed components, and no insulation value, at which point replacement becomes the better long-term investment. Any honest estimate should tell you which applies to your specific door. Garage door installation in Santa Ana is our wheelhouse when replacement is the right call.
Santa Ana’s summer heat can trigger the thermal overload protection inside the opener’s motor, causing it to stop mid-cycle and refuse to restart until it cools down. This is more common with openers installed in uninsulated garages where temperatures exceed 110 degrees. The fix is often a logic board adjustment, a capacitor replacement, or a motor ventilation improvement, depending on the opener’s age and brand. If your opener is cutting out on hot afternoons, call (866) 808-7312. Our opener repair service in Santa Ana handles this exact issue regularly.
Most residential garage door replacement and repair work does not require a permit in Santa Ana, provided the work is a like-for-like swap with no structural changes to the opening. If the job involves enlarging the opening, changing from a standard door to a custom track configuration, or modifying the framing in any way, a permit may be required by the city. During a free estimate we can tell you definitively whether your specific project needs anything beyond the installation itself.
The Bottom Line
The DIY vs. professional garage door decision is really a risk assessment disguised as a skill assessment. Some tasks, like lubrication and sensor cleaning, are so low-risk that anyone can and should do them at home in Santa Ana. Other tasks, like spring and cable work, carry consequences that no amount of video preparation can mitigate. The smart homeowner knows the difference, keeps up with the cheap maintenance that prevents expensive failures, and has a professional relationship in place before the emergency call happens. That’s the Royal standard, and it’s available to every homeowner in Santa Ana. Call (866) 808-7312 for a free estimate, or browse our Royal Garage Door Co home page to see the full scope of what we handle.
Written by the team at Royal Garage Door Co, serving Santa Ana since 2016.
See the difference
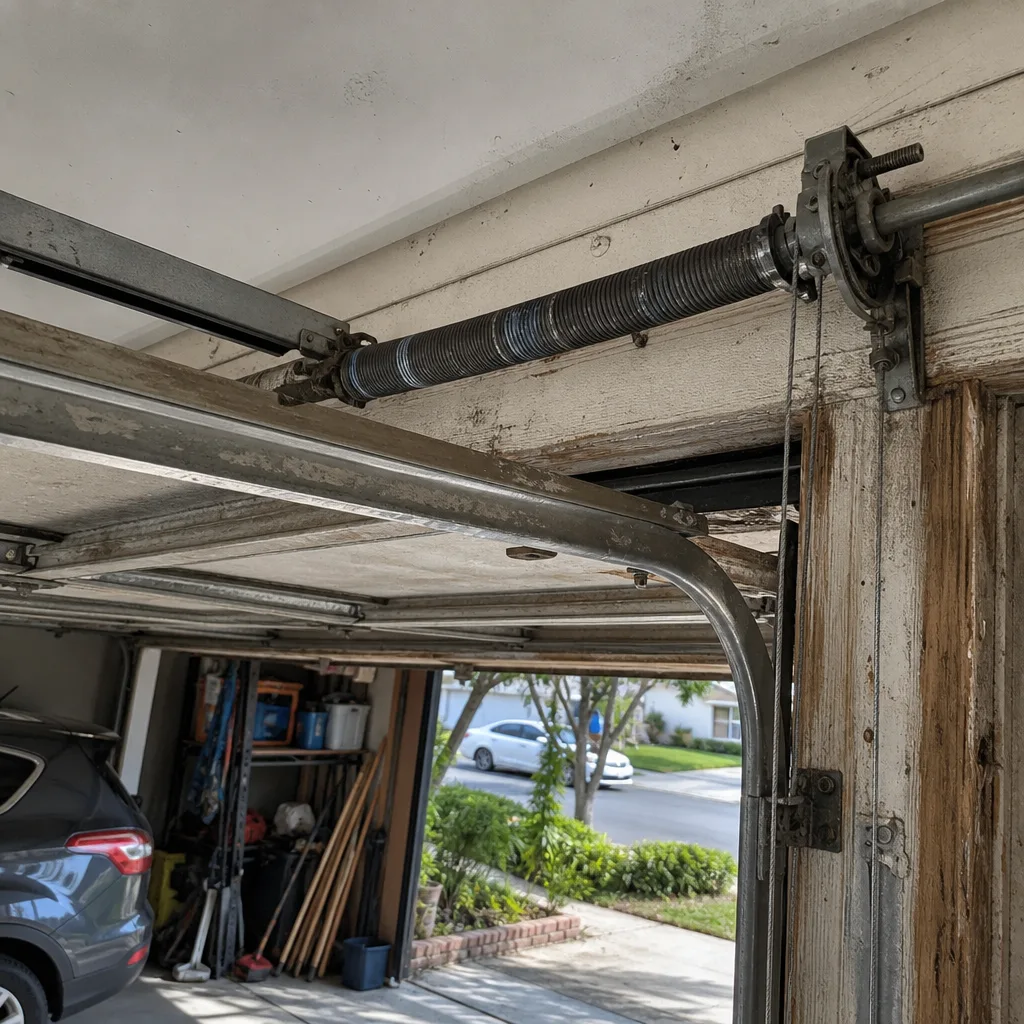 Before
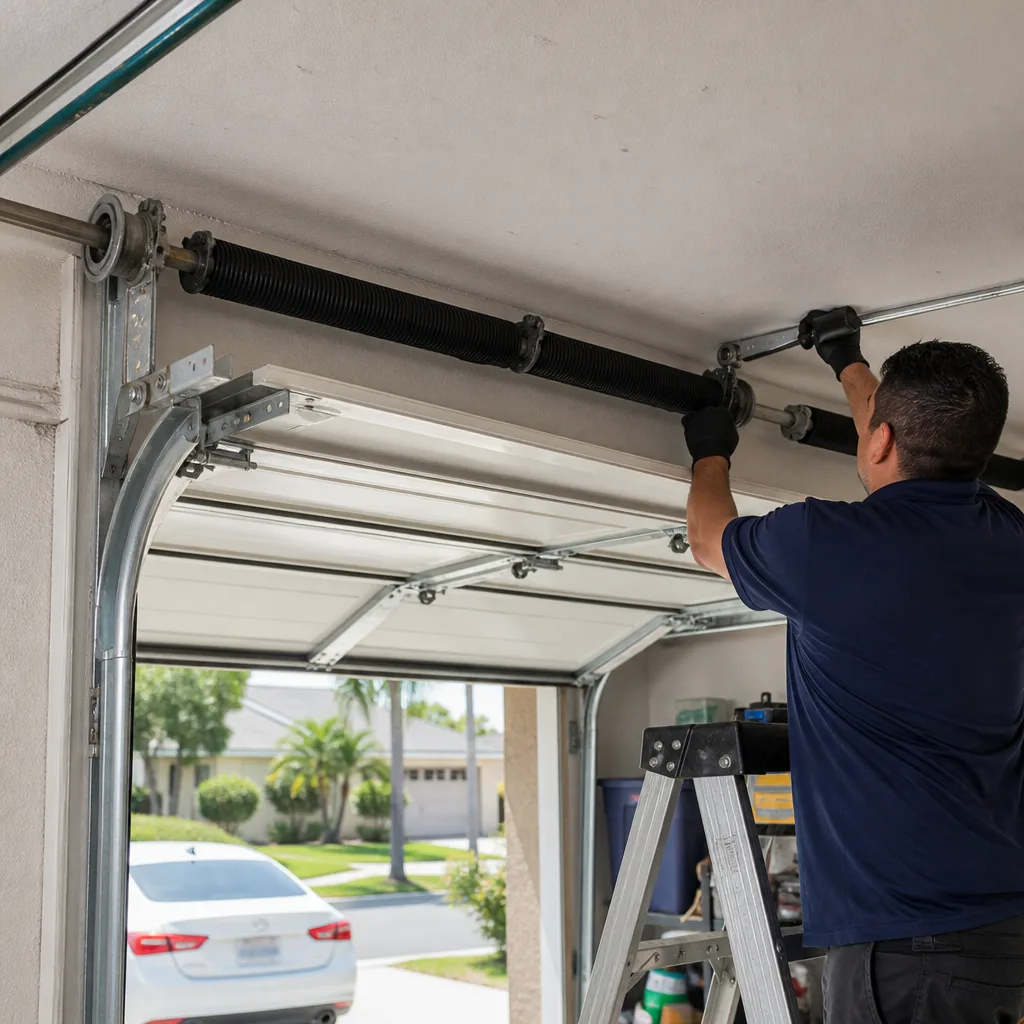 After
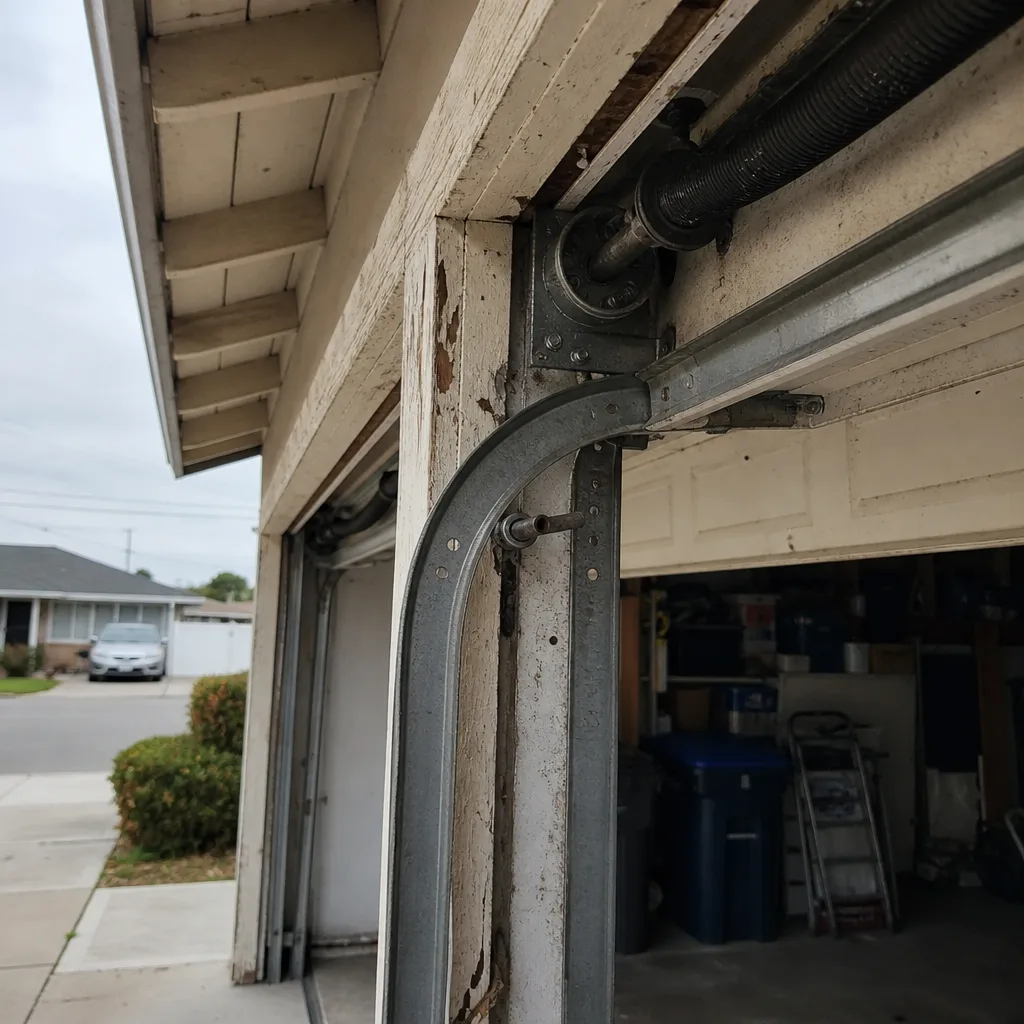 Before
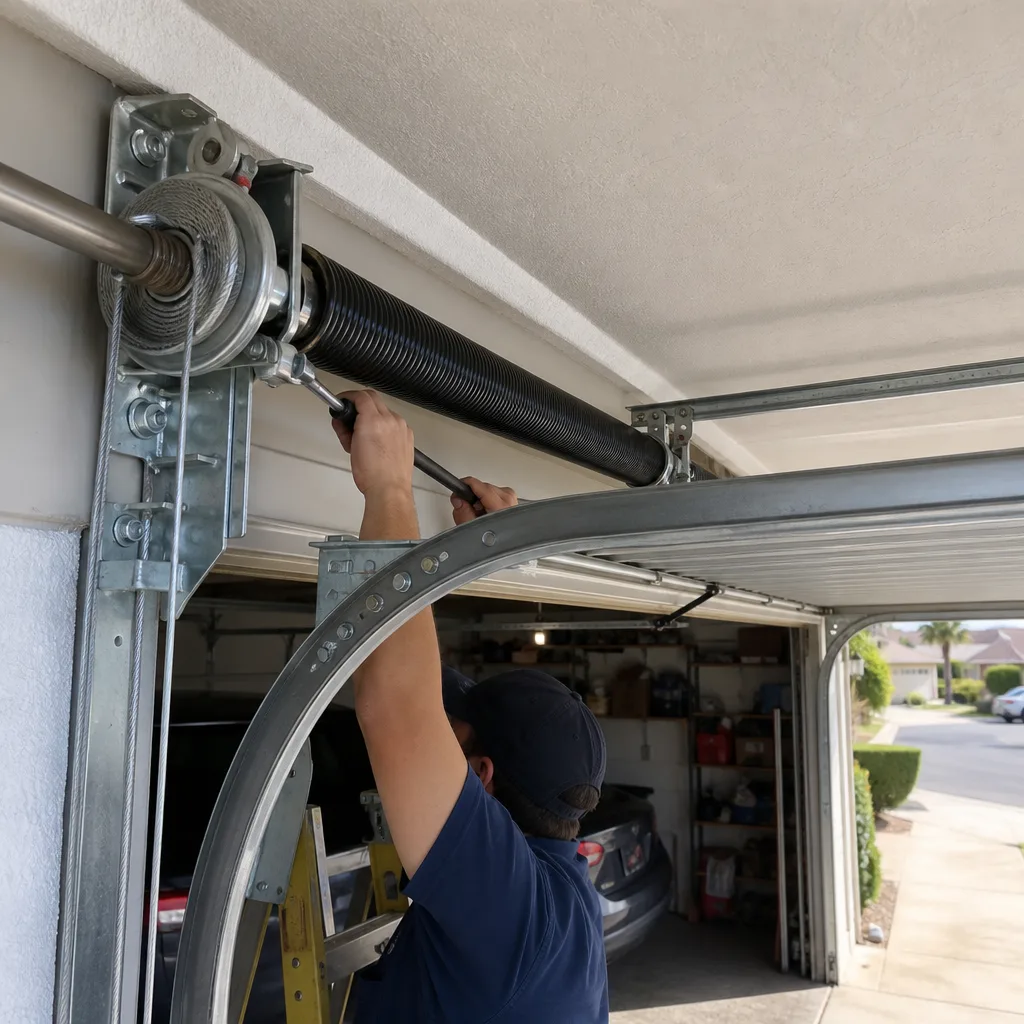 After
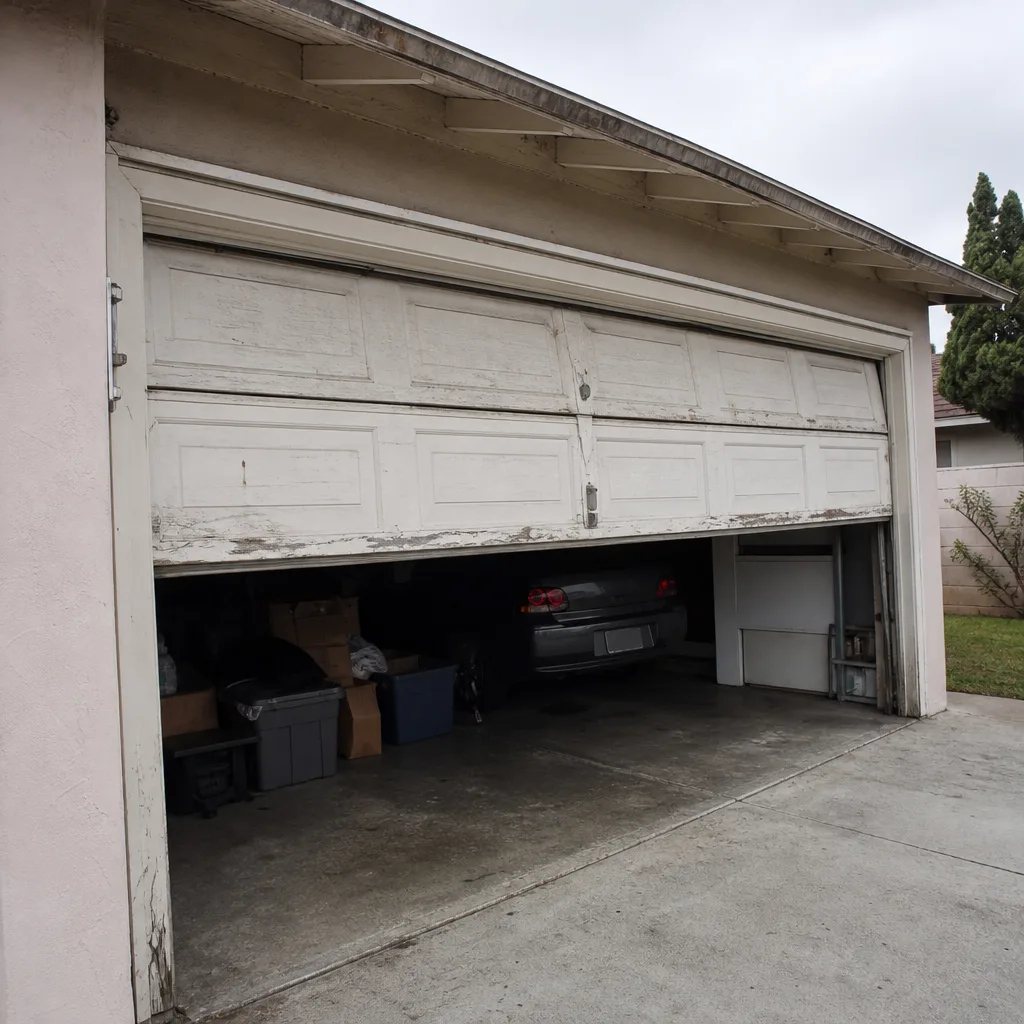 Before
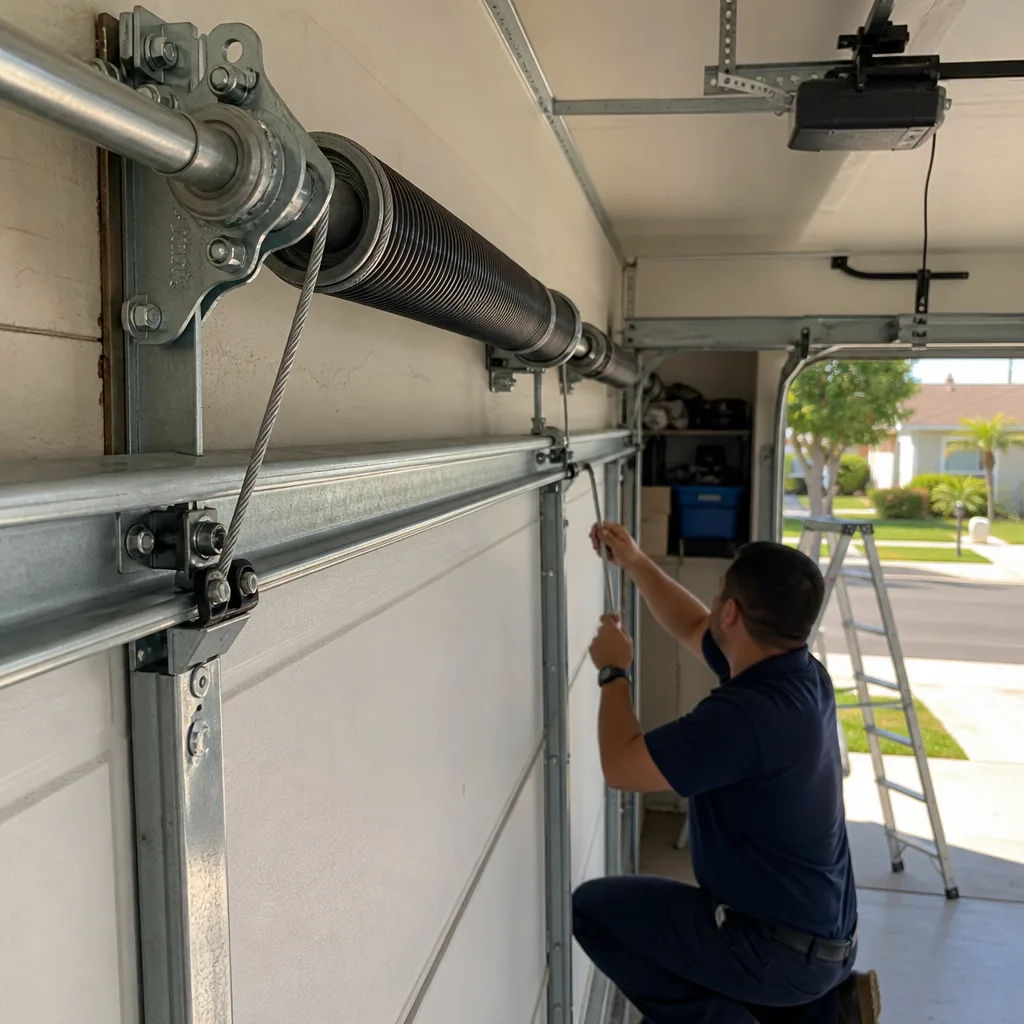 After