
Last updated October 31, 2026
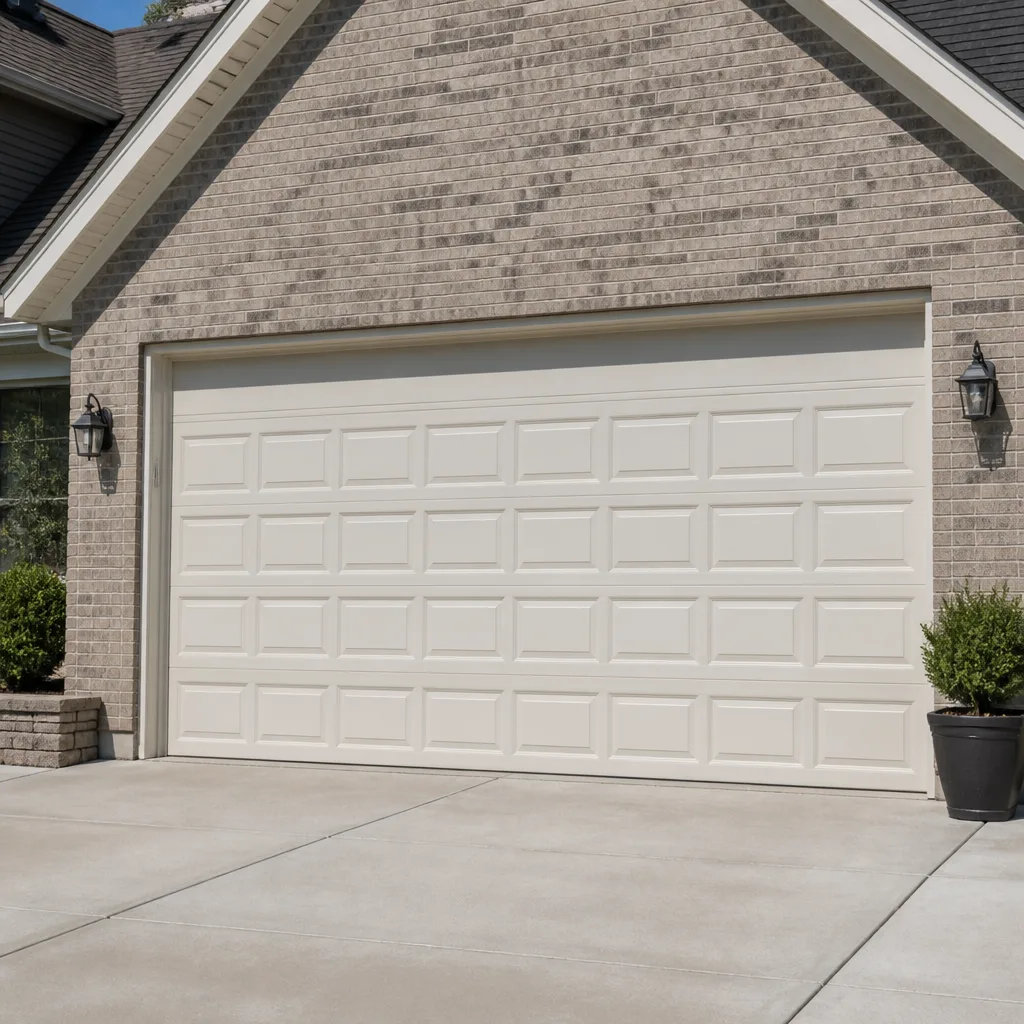 Raised-panel steel
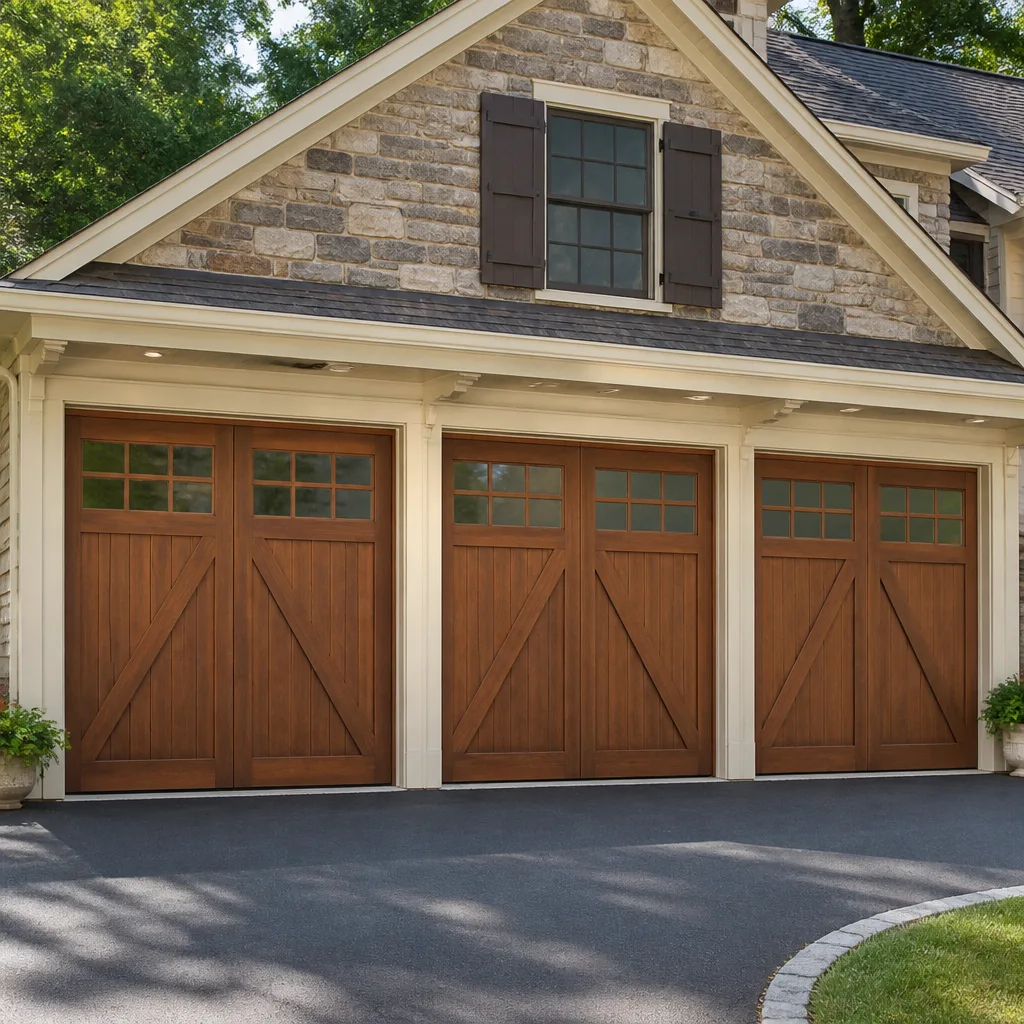 Carriage house
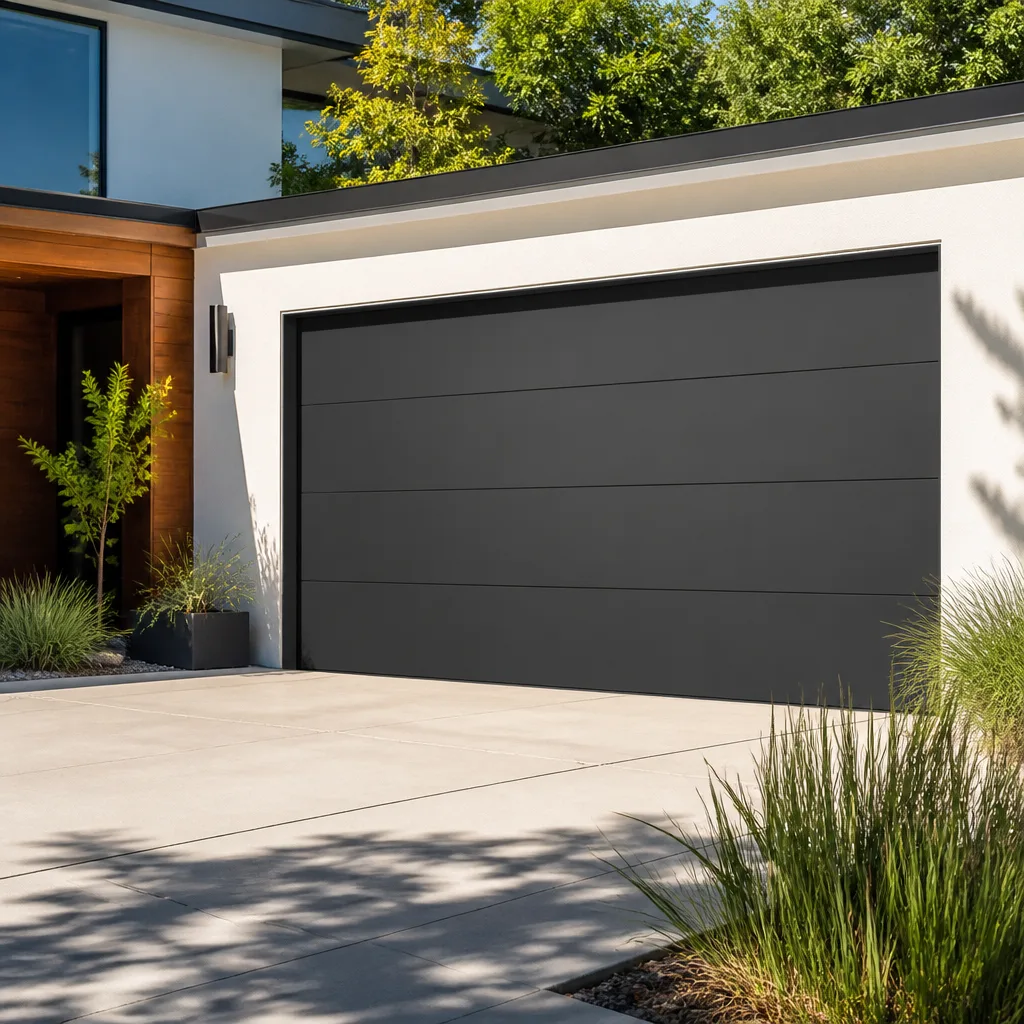 Modern flush
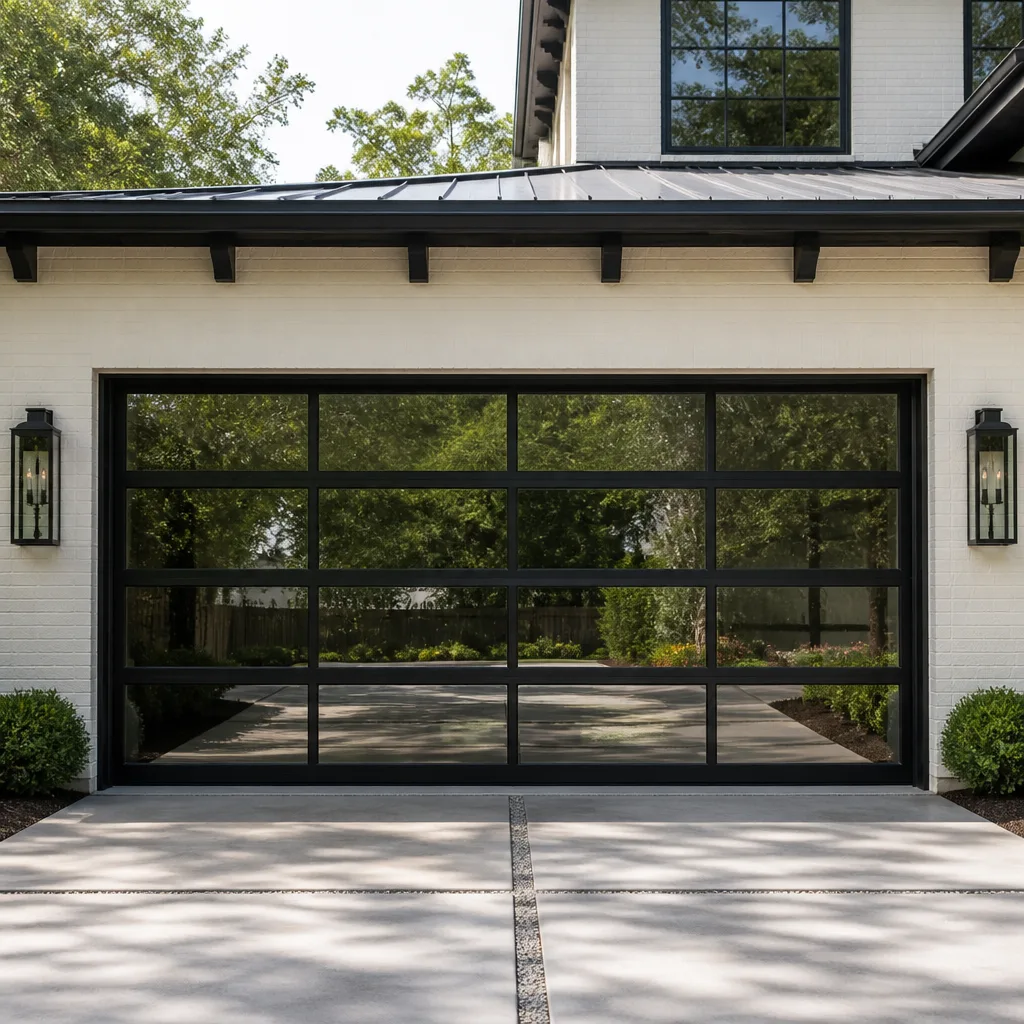 Full-view glass
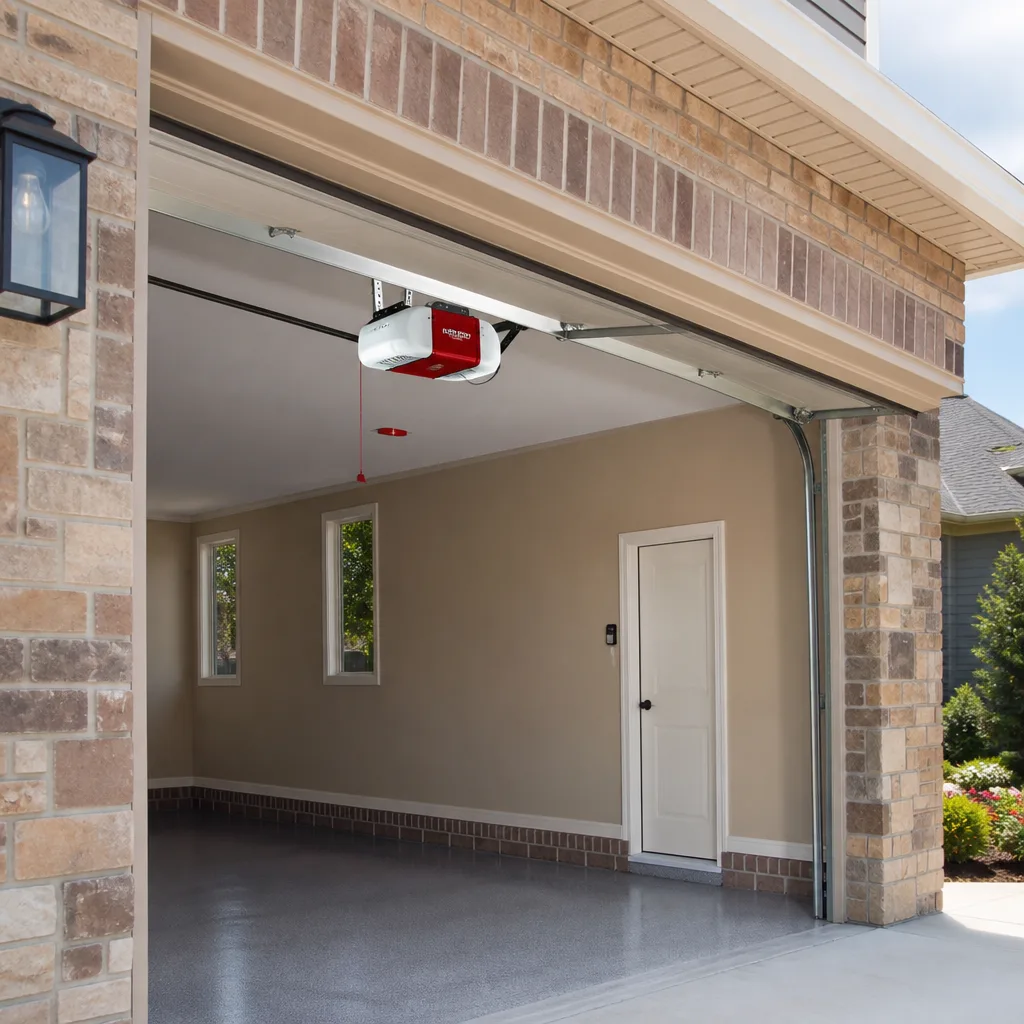 LiftMaster openers
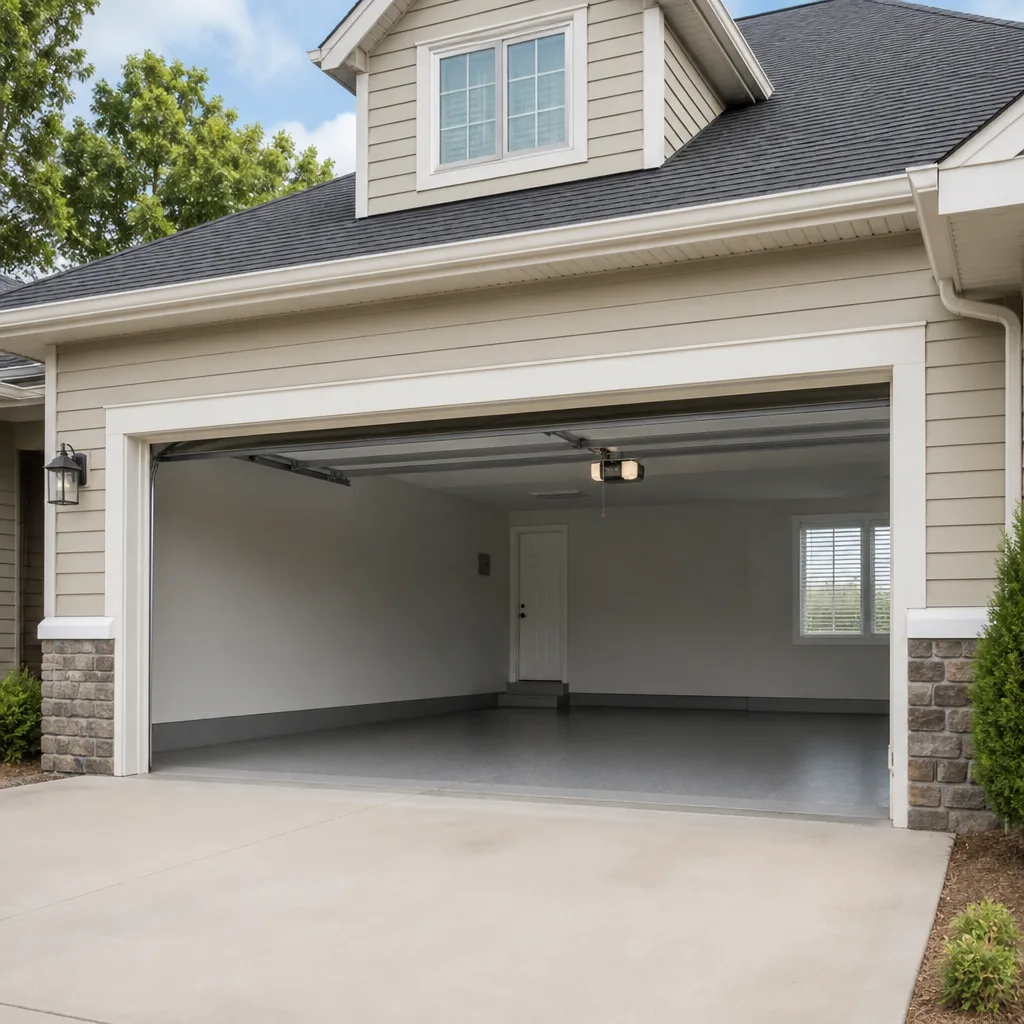 Chamberlain openers
Full 25-point door and opener safety check with every visit - springs, cables, rollers, tracks, and your LiftMaster or Chamberlain opener included
You get a price before we start. It does not change when the truck arrives.
Get your free estimateGarage Door Repair Maintenance Checklist for Santa Ana Homeowners
Most garage door maintenance advice circulating online was written for a generic door in a generic climate. That’s a problem in Santa Ana, where a 2009 Clopay steel door that has cycled tens of thousands of times under dry, dusty Santa Ana winds is a very different machine than the one those checklists imagine. We’ve opened enough panels in homes across Santa Ana to see the patterns: certain failures show up almost on schedule here. This guide is built around the systems you actually own, the brands most common in our local housing stock, and the failure points those systems develop over 10, 15, 20 years of daily use. You’ll learn which tasks take five minutes and which justify a Garage Door Repair professional call, where each of the major brands tends to wear first, and the one inspection step that prevents most off-track emergencies.
Styles & brands we work with
Quick Answer
A practical garage door maintenance checklist for Santa Ana homeowners includes monthly visual and functional checks (balance test, reversal sensor test, roller and track inspection), quarterly cleaning and lubrication of rollers, hinges, and springs with the correct product, and an annual professional inspection to catch spring fatigue and opener wear before they become emergency repairs. The Santa Ana specifics that change the equation are the dry, particulate-heavy air that turns old grease into grinding paste and the daily thermal cycling that accelerates spring fatigue even on a door that appears to be operating normally. For related reading, see our Garage Door Repair Troubleshooting: Common Problems and How to Fix Them.
Table of Contents
- Brand-Specific Maintenance: What Your Door and Opener Actually Need
- Monthly Tasks: The 15-Minute Routine
- Quarterly and Seasonal Tasks: Tracking Santa Ana Conditions
- The Annual Inspection: What to Document and Why
- Spring Fatigue and the Santa Ana Wind Cycle
- Safety Reversal Testing: The Step That Prevents Most Off-Track Emergencies
- Documenting Your Door’s Condition: Protecting Yourself Before Any Contractor Visit
- Common Mistakes to Avoid
- When to Call a Professional
- Frequently Asked Questions
- The Bottom Line
Brand-Specific Maintenance: What Your Door and Opener Actually Need
Generic checklists treat every garage door as if it were the same machine. The problem is that a Chamberlain opener from 2015 has different lubrication points, different wear patterns, and different failure modes than a Genie screw-drive from 2008 or a LiftMaster belt-drive installed last year. Santa Ana’s housing stock skews heavily toward homes built between the 1960s and the early 2000s, which means we routinely see a mix of legacy Raynor and Craftsman doors alongside newer Clopay and Amarr installs. Each needs a slightly different maintenance approach.
Chamberlain and LiftMaster Systems
These two brands share the same parent company and many internal components, which means their maintenance needs are similar. Both use a chain or belt drive with a nylon or steel carriage. The lubrication point most homeowners miss on these openers is the rail itself. Chamberlain and LiftMaster rails ship with a thin factory coating that wears off within the first two or three years. After that, a dry rail with metal-on-metal contact puts load on the motor that will shorten its life. Use a lithium-based grease on the rail seam, not on the belt or chain itself. A belt should run dry. A chain, if you own an older Chamberlain or a LiftMaster chain-drive, gets a light coating once per quarter.
The photo-eye sensors on these systems are also more sensitive to dust accumulation than most people assume. In Santa Ana, where fine particulate blows through during the winter wind events, we see reversal-sensor failures on Chamberlains and LiftMasters far more often than on other brands. The symptom is a door that starts to close and then reverses for no visible reason. The fix is usually a simple wipe of the sensor lens with a dry microfiber cloth.
Genie Systems
If your Santa Ana home still has an original Genie opener from the mid-2000s or earlier, you probably have a screw-drive unit. These are simple machines, but they are unforgiving about lubrication. The screw shaft should be coated with a light layer of white lithium grease at least twice a year. A dry screw-drive Genie will sound louder over time, and once the threads begin to wear, the only honest repair is a full rail replacement. We see homeowners in neighborhoods like Floral Park and West Floral Park running these units far past their serviceable life, usually because the door still opens. The issue is that a failing screw-drive Genie draws more amperage and will eventually damage the logic board, at which point the repair cost exceeds the price of a new opener.
Craftsman and Raynor Legacy Doors
Craftsman openers, which were largely rebranded Chamberlain units by the 2000s, follow the Chamberlain maintenance pattern above. Craftsman and Raynor doors themselves, though, require attention to the hinge points between panels. Older wood and steel Raynor doors from the 1980s and 1990s used steel hinges that corrode at the pin. On these doors, the symptom to watch for is a panel that resists folding at the hinge line, which translates to jerky operation and eventually a snapped hinge. A penetrating oil applied at each hinge pin twice a year will keep these doors moving cleanly. The Santa Ana climate’s low humidity is actually an advantage here: we don’t see the kind of tin-can rust you find in coastal cities. What we do see is abrasive dust working its way into the hinge joints, and lubricant solves that.
Monthly Tasks: The 15-Minute Routine
The best maintenance schedule is the one you will actually keep. Once a month is enough to catch most developing problems before they turn into a dead door at 7 a.m. on a workday. This routine assumes you own a standard sectional garage door with an automatic opener. It takes about 15 minutes. None of the steps require tools beyond your eyes, your ears, and a spray can of lubricant.
- Run the door through a full cycle and listen. Stand next to the door, not under it, and open and close it once. The sound should be consistent: a low hum from the opener, a smooth roll from the wheels. Any new grinding, popping, or squealing is a data point. A popping sound near the spring often indicates a spring that’s beginning to bind.
- Watch the door move from the side. The door sections should rise and fall in a single plane. Any hesitation, any wobbling at the panel joints, any section that lags behind the others means the hinges or rollers are worn. Santa Ana’s dry air shrinks wood doors subtly over the years, and the side-view check is the earliest way to catch that movement.
- Check the balance manually. Pull the red emergency release handle and lift the door by hand. A properly balanced door will hold its position at the halfway point without drifting up or down more than a few inches. If the door slams down or shoots up, the springs are no longer matched to the door’s weight. Schedule a spring service before the opener motor takes on that added load.
- Inspect the rollers, cables, and track brackets. Look at each roller where it enters the vertical and horizontal track. Rollers with visible flat spots or rust at the bearing are near the end of their life. Cables should be taut and seated in the drums. A frayed cable is a countdown, not a waiting game. Loose or missing track bolts are a quick fix now and a door-off-track later if ignored.
- Wipe the photo-eye sensors. This is the Santa Ana-specific step. The dusty air season from October through February deposits a fine film on sensor lenses. A dry microfiber cloth is all you need. Do not use a wet wipe or any cleaner that leaves residue; it will only attract more dust.
- Test the auto-reverse function. Place a roll of paper towels or a flat piece of wood flat on the ground in the door’s path. Close the door. It should contact the object and reverse within two seconds. This test confirms the mechanical obstruction reverse and the sensor reverse both work. This is not optional. A door that fails this test is a serious safety hazard for children and pets.
If you find a problem during any of these steps, the smart sequence is to document it, then call a professional who can address it in one visit. Royal Garage Door Co offers the kind of garage door repair in Santa Ana that starts with your existing system, not with a sales pitch to replace it.
Quarterly and Seasonal Tasks: Tracking Santa Ana Conditions
Santa Ana’s seasonal pattern creates two distinct maintenance windows. In late summer and early fall, the Santa Ana wind events kick up dust and fine grit that works into every moving part on your garage door. In spring, the transition from cool nights to warm days causes expansion and contraction at the panel joints and track mounting points. Quarterly tasks align with these rhythms.
Cleaning and Lubrication: The Correct Products Matter
The single most consequential maintenance decision you will make is what you put on your door’s moving parts. The wrong product creates more problems than it solves. WD-40 is not a lubricant; it is a solvent and a water displacer. It will strip the existing lubrication and leave the metal surfaces drier than before. Heavy axle grease attracts dust and turns into grinding paste within weeks in Santa Ana’s dry particulate air. The correct products are:
- White lithium grease for hinge pins, spring coils, and bearing plates
- Silicone spray for rollers, weatherstripping, and the torsion spring (it will not degrade the nylon bearing surfaces)
- A dedicated garage door lubricant on the opener rail and chain
Apply sparingly. Two or three drops at each hinge pin and a light coat along the spring is enough. Over-lubrication drips onto the door panels and attracts exactly the dust you are trying to protect against. If you prefer to have this done professionally, it’s a standard part of the preventive maintenance we perform during any garage door opener repair in Santa Ana visit.
Roller Replacement Cadence
Steel rollers with ball bearings last five to seven years in daily-use conditions. Nylon rollers can last longer but wear faster in homes where the door cycles more than four times per day. In our experience across Santa Ana neighborhoods like Park Santiago and Washington Square, the average residential door cycles three to four times daily, which puts most rollers at the end of their useful life around year six. If your rollers are older than that and you are hearing increasing noise, the fix is replacement, not more lubricant. Worn rollers are also the most common cause of a door coming off its track mid-cycle, which we’ll cover in the safety reversal section below.
The Annual Inspection: What to Document and Why
An annual inspection has two purposes: catching mechanical wear before it fails, and creating a paper trail. The second purpose matters more than most homeowners realize. If you ever need to file a home warranty claim or negotiate a repair with a contractor, a dated set of photos and notes showing your door’s condition over time is your best protection against disputes about pre-existing damage. Here is a step-by-step annual routine you can do yourself in about 30 minutes.
- Photograph every major component. Take close-up photos of the torsion spring, the extension springs if you have a two-spring door, both cables, each roller, each hinge, the opener rail, the opener belt or chain, and the weather seal along the bottom of the door. Date the photos. Store them in a folder on your phone or computer. This is your baseline evidence.
- Mark the spring’s painted reference line. Torsion springs have a colored paint stripe from the factory. If the paint is peeling or the spring has visible gaps between coils, make a note. Gaps between coils mean the spring is losing its temper and is close to a break.
- Check every bolt and nut on the track system. The track is bolted to the wall and the ceiling in multiple places. Loose bolts are common on homes in Santa Ana because the expansion and contraction of wood framing works fasteners loose over time. Tighten by hand or with a socket wrench. Do not over-tighten; you can deform the track.
- Inspect the weather seal. The rubber strip along the bottom of the door cracks and shrinks in Santa Ana’s dry heat and UV exposure. A failed seal lets dust, leaves, and pests into the garage and lets conditioned air out. Replacement is a five-minute job with a new seal strip.
- Run a cycle with your hand on the opener housing. You are feeling for excessive vibration or heat. A warm opener after one cycle is normal. A hot opener after one cycle indicates a failing capacitor or motor bearing. This is a call-it-in situation, not a watch-and-wait one.
- Record the door’s travel time. Most openers should move the door from closed to open in 12 to 15 seconds. A door that has slowed to 20 seconds or more is usually telling you the springs are losing strength, the opener gears are wearing, or the door is out of balance. All three are repairable, but only if addressed before a component fails completely.
If any step in this annual routine uncovers a problem, the right move is a professional diagnosis. You can book a free estimate on garage door installation in Santa Ana or repair through our main service line, and our team will work with the system you already own rather than steering you toward an unnecessary replacement.
Spring Fatigue and the Santa Ana Wind Cycle
Here is the maintenance conversation most guides skip: your garage door springs are the part that carries the entire weight of the door. They are under tension every moment the door is closed, not just when it is operating. In Santa Ana, two local factors shorten spring life compared to coastal or inland areas with less extreme conditions.
The first is the temperature swing pattern. Santa Ana sees warm days and relatively cool nights for most of the year, which means the metal springs expand and contract on a daily cycle. Over years, that repeated thermal cycling causes fatigue at the molecular level. The second factor is the dry wind season. Santa Ana winds carry fine particulate that settles into the spring coils. That dust is not just cosmetic: it accelerates wear at the coil contact points each time the spring compresses and releases.
The practical takeaway is that spring failures in Santa Ana happen on a predictable timeline. Torsion springs are typically rated for 10,000 cycles, which translates to roughly 7 to 9 years for a door that opens three or four times daily. If your springs are older than that, you are on borrowed time. The visual signs of early failure include:
- Gaps between coils that were not there during your last inspection
- A visible rust line or dark wear line along the coil contact points
- A door that feels heavier than it used to when you lift it manually
- A snapping or popping sound when the door cycles
- The door stops moving smoothly in the last 12 inches before fully open
A broken torsion spring is not a slow news day. It releases energy in an instant. If you are in the garage when it goes, it sounds like a gunshot. The door itself becomes nearly impossible to lift because all the counterbalance force is gone. We strongly advise against attempting to replace a torsion spring yourself. The tension involved can easily cause serious injury. A trained professional has the winding bars, the correct spring size calculation, and the experience to do it safely. If you see the early warning signs described above, call before the failure. It is a lot more pleasant to schedule a spring replacement on your timeline than to be parked outside your own garage waiting for an emergency call-back.
Safety Reversal Testing: The Step That Prevents Most Off-Track Emergencies
If there is a single skipped step that leads to the most expensive and inconvenient garage door failure in Santa Ana, it is the monthly safety reversal test. Here is why it matters beyond the obvious safety concern. The auto-reverse system does double duty. The same sensor and pressure logic that protects a child or pet from being struck by the door also protects the door itself from closing on an obstruction, such as a bicycle wheel, a trash can, or a tool box left too close to the door path.
When the auto-reverse fails, the door closes on that obstacle and keeps pushing. The result is usually one of three outcomes, and all of them are bad: the door panel bends, the cable pops off the drum, or the door twists hard enough to jump the track. In Santa Ana, where garages often double as storage spaces because homes were built before the region’s sprawl added bigger closets and bedrooms, the odds of an obstacle in the door path on any given day are higher than average. The reversal test is your protection against turning a $5 sensor cleaning into a $400 track re-seat.
Here is the full test sequence. Do all three parts monthly. The whole thing takes two minutes.
- Sensor test: Wave something solid, like a broom handle, between the two photo-eye sensors while the door is closing. The door should stop and reverse immediately. If it does not, the sensors are misaligned, dirty, or wired incorrectly.
- Pressure test: Place a roll of paper towels flat on the ground in the middle of the door opening. Close the door. The door should contact the roll, pause for a moment, and reverse. If it crushes the roll and keeps grinding, the force setting is too high. This is a fixable adjustment on most openers, but it is better done by a professional who knows the spec for your brand.
- Cable visual check: Look at both lift cables where they wrap around the drums at each end of the torsion spring. A cable that is beginning to fray will have small broken wire strands visible. This is a replace-soon item. A fully snapped cable is an emergency: the door will not balance and will be unsafe to operate until repaired.
Most off-track failures we see in Santa Ana homes trace back to a skipped reversal test or a frayed cable that was ignored for weeks. Neither is expensive to address early. Both are expensive and disruptive after the failure.
Documenting Your Door’s Condition: Protecting Yourself Before Any Contractor Visit
Here is the inside-baseball reason documentation is genuinely worth your time. When a contractor arrives to work on a garage door, there is a natural asymmetry of information. The contractor is assessing components that wear gradually, and any pre-existing damage on those components can easily be mistaken for new damage caused during the repair. If you cannot show what the door looked like before the visit, a disputed conversation is unavoidable.
This is not a hypothetical. We have seen cases where a homeowner calls about a noisy door, the technician adjusts the spring tension, and the next morning the homeowner notices a scratch on the panel that was actually there for six months but now has reason to question it. A dated photo from the homeowner’s own phone resolves the conversation instantly. Here is the documentation routine we recommend:
- Keep a simple folder on your phone. Name it “Garage Door” and add photos each time you do your monthly or annual checks.
- Photograph every panel from the inside and outside at least twice a year. Panel dents, scratches, and corner chips should be visible in the photos.
- Photograph the cables, springs, and rollers up close. These are the parts that wear and the parts most likely to be blamed on the last person who touched them.
- Note the date of any past repairs and which company performed them. If you have a paper receipt, photograph it and add it to the folder.
- When a technician arrives, do a quick walk-around together and point out any existing damage. A professional will appreciate it and will often document it on their work order as well.
This practice takes a few minutes per year and eliminates an entire category of dispute. Explore our more guides & resources for additional homeowner tips. The technician who inspects your door should be the same brand-agnostic type we employ at Royal Garage Door Co: someone trained on LiftMaster, Chamberlain, Genie, Clopay, Amarr, Wayne Dalton, Craftsman, and Raynor systems, who is there to solve the problem on your specific door, not to sell you a door you may not need. Our technicians see residential doors from all eight of those brands regularly, and the documentation habits we recommend come from watching thousands of repair visits unfold in Santa Ana homes.
Common Mistakes to Avoid
- Skipping the balance test because the opener still works. The opener is designed to lift a balanced door. When your springs weaken, the opener motor picks up the extra load silently, and the first symptom you notice is often a dead motor or stripped gear, not a visible spring problem. The balance test catches spring fatigue before the opener pays for it.
- Using the wrong lubricant. WD-40 and penetrating oils strip the existing lubrication and leave metal surfaces dry. Heavy grease traps dust and grit. In Santa Ana’s dusty air, that grit becomes a fine abrasive that accelerates wear on rollers and hinges. Use white lithium grease or silicone spray only.
- Ignoring a frayed cable because it still works. A cable with broken strands is not a “still works” condition. It is a failure waiting for an inconvenient moment. A snapped cable releases the door’s balance on one side, which twists the door in the track and usually damages panels and rollers in the process.
- Assuming a noisy door just needs more lubricant. Noise is a symptom, not a diagnosis. Squealing often means a worn bearing. Popping often means a spring issue. Grinding often means the opener rail is dry or the gears are wearing. More lubricant hides the symptom without addressing the cause.
- Replacing an opener without checking the door balance first. A new opener on an unbalanced door is a motor with a shortened life. The right sequence is balance first, opener second. Any professional who skips the balance check before installing an opener is setting you up for a shorter service life.
- Forgetting that the auto-reverse system is a monthly test, not an annual one. Sensors drift out of alignment from vibrations. Settings drift from temperature changes. A reversal system that worked in January may not work in April. The test takes two minutes. The cost of skipping it can be a child’s safety.
- Waiting until the door fails to call a professional. Repairing a door that is showing early signs of wear is significantly cheaper than repairing the cascade of damage that happens when a component fails mid-cycle. Document the early signs, call for a diagnosis, and fix the small problem before it becomes a big one.
When to Call a Professional
Some maintenance tasks are homeowner territory. Others are not. You should call a professional if your torsion spring shows gaps between coils, if a cable has visible fraying or a snapped strand, if your door will not stay balanced after you manually lift it, if your opener motor is hot after a single cycle, or if you have any doubt about your ability to safely inspect or adjust a component under tension. Torsion springs carry enough stored energy to cause serious injury, and no checklist on the internet can substitute for trained hands. Royal Garage Door Co offers free estimates in Santa Ana for all repair and maintenance concerns. Call (866) 808-7312 and describe what you are seeing. We will tell you whether it is urgent, whether it can wait, and what the repair will cost before any work is scheduled or performed.
Frequently Asked Questions
A professional garage door maintenance visit in Santa Ana typically costs between $85 and $150, which includes lubrication of all moving parts, a full safety inspection, and minor adjustments. If the inspection uncovers a needed repair, the repair cost is quoted separately and approved by you before any work begins. Call (866) 808-7312 for an exact quote on your door and opener system.
Quarterly lubrication is the right cadence for most Santa Ana homes, with a slight lean toward more frequent attention during the dusty wind season from October through February. The keys are using the correct product (white lithium grease or silicone spray, never WD-40) and keeping the application light enough to avoid attracting dust.
The monthly visual checks, sensor test, and reversal test are homeowner tasks that take about 15 minutes and require no special tools. Lubrication is also a homeowner task if you use the right product. The annual spring inspection and any work involving torsion springs or cables should be handled by a professional, because those components are under constant high tension and can cause serious injury if mishandled.
A door that reverses for no visible reason usually means the photo-eye sensors are dirty or misaligned. In Santa Ana, the dry, dusty winds deposit fine particulate on the sensor lenses, which makes this problem more common here than in cleaner air environments. Wipe the lenses with a dry microfiber cloth and test again. If the problem persists, the sensor wiring or the opener’s force settings may need professional attention.
Torsion springs are rated for roughly 10,000 cycles, which translates to about 7 to 9 years for a door that cycles three or four times daily. Santa Ana’s daily temperature swings and dusty wind season can shorten that window by a year or two compared to homes in more stable climates. If your springs are older than 7 years and you notice gaps between coils, a heavier-feeling door, or popping sounds, schedule an inspection before a break occurs.
No. At Royal Garage Door Co, the price is quoted and agreed before any work starts. The technician will inspect your door, explain what needs to be done, and give you a firm written price before turning a wrench. If an additional issue is found during the repair, we stop and get your approval before proceeding. You will never receive a surprise invoice. Call (866) 808-7312 to schedule your free estimate.
Yes. Our service vehicles carry the most common replacement parts for LiftMaster, Chamberlain, Genie, Clopay, Amarr, Wayne Dalton, Craftsman, and Raynor systems, including springs, cables, rollers, hinges, sensors, and opener components. That brand coverage means we can complete most repairs in a single visit without waiting on a parts order. Call (866) 808-7312 to confirm availability for your specific system.
The Bottom Line
A maintenance checklist that treats every garage door as an identical machine is not a maintenance plan; it is a formality. The door over your car is a specific system with specific wear points, and in Santa Ana, the dry winds, daily temperature swings, and dusty air shape how that system ages. The monthly 15-minute routine catches developing problems, the quarterly lubrication protects moving parts from grit, and the annual documentation protects you from disputes. Spring fatigue follows a predictable timeline here, and the reversal test is the single highest-value step you can take to avoid off-track emergencies. Maintenance is not about preventing every failure forever. It is about catching the small, fixable problems before they become the expensive, dangerous ones. If you find something on your checklist that looks wrong, call (866) 808-7312 and describe it. A knowledgeable diagnostic conversation costs you nothing, and it might save you a no-show, a half-fix, or an emergency call at the worst possible time.
Written by the team at Royal Garage Door Co, serving Santa Ana since 2016.
See the difference
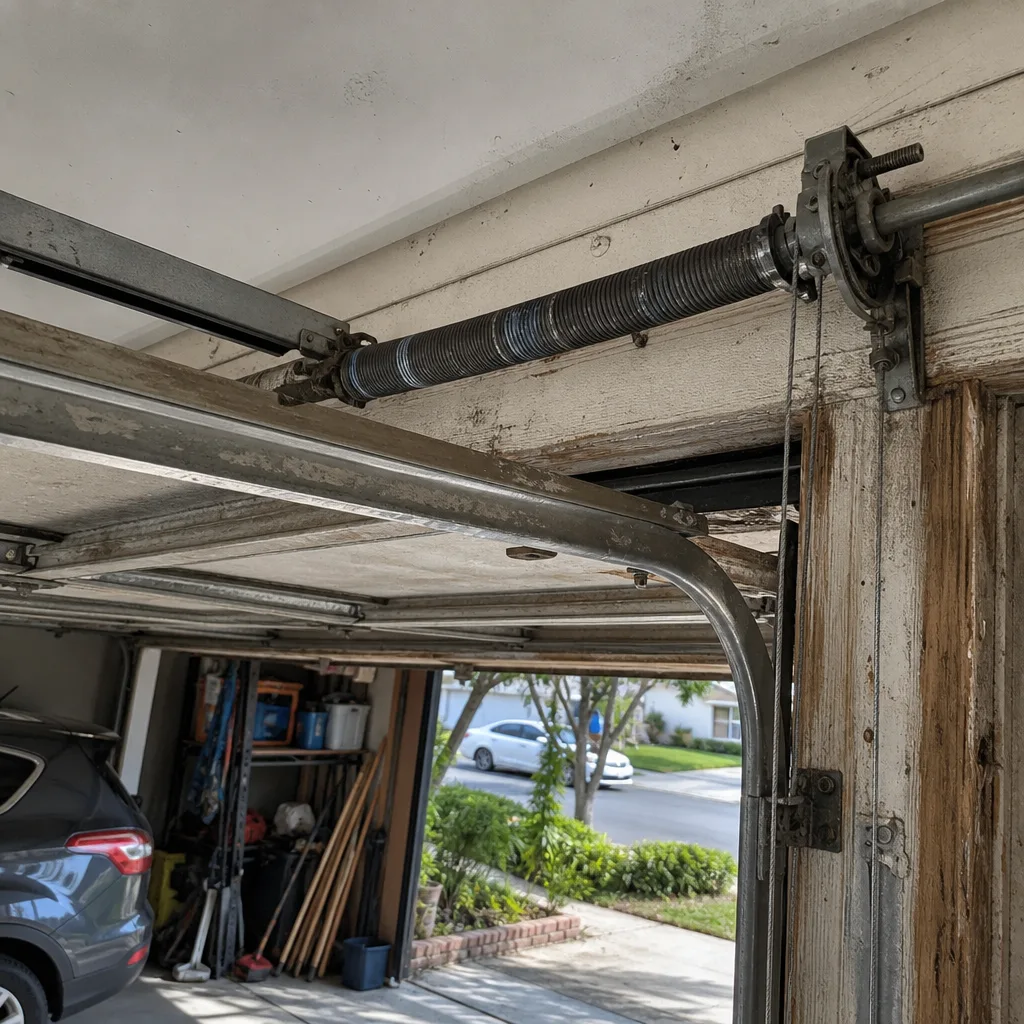 Before
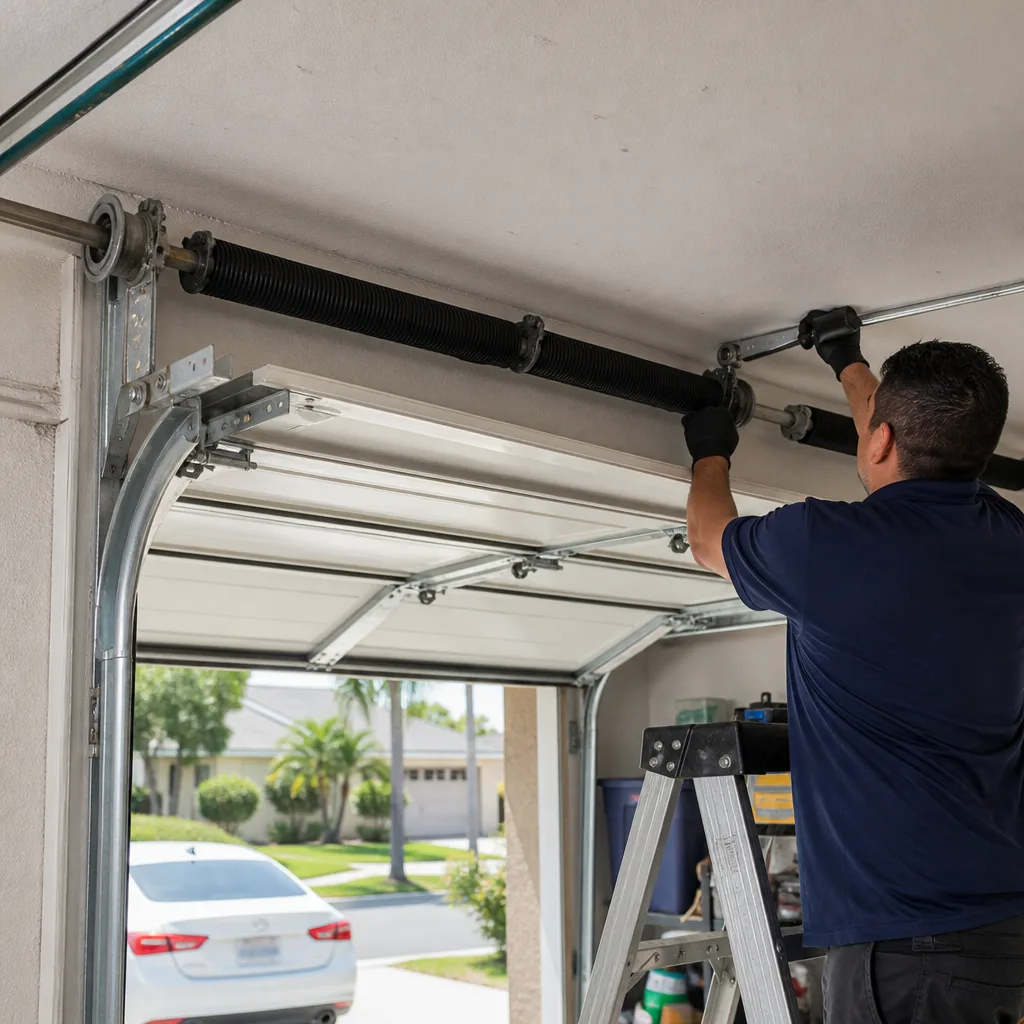 After
 Before
 After
 Before
 After