Last updated October 31, 2026
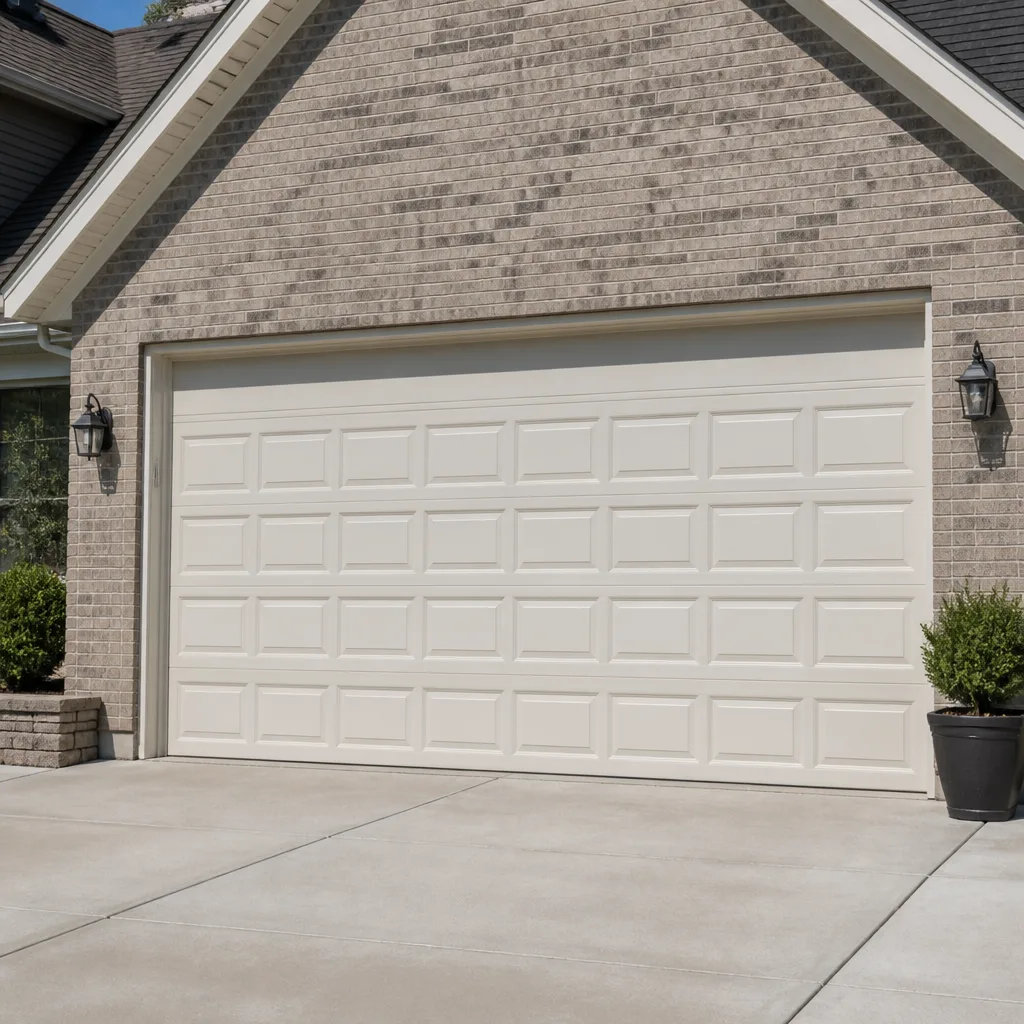 Raised-panel steel
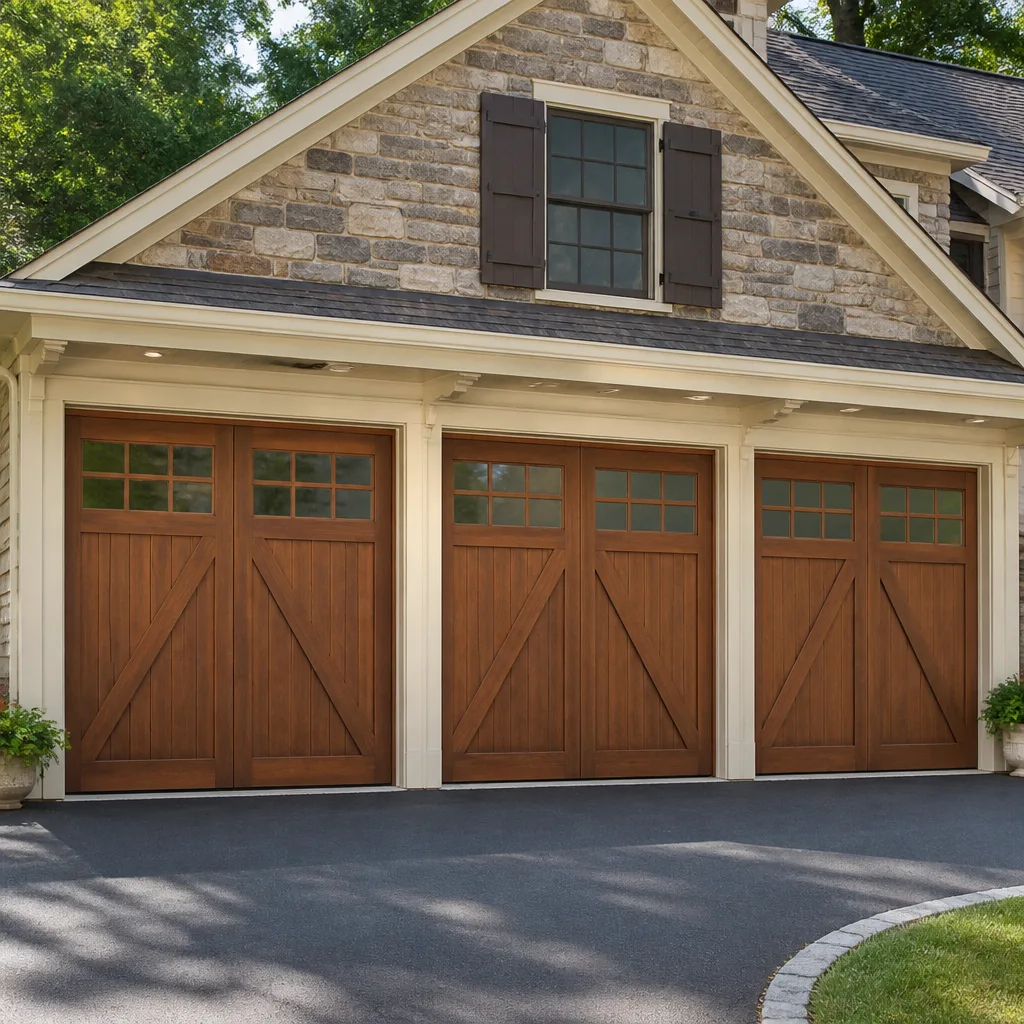 Carriage house
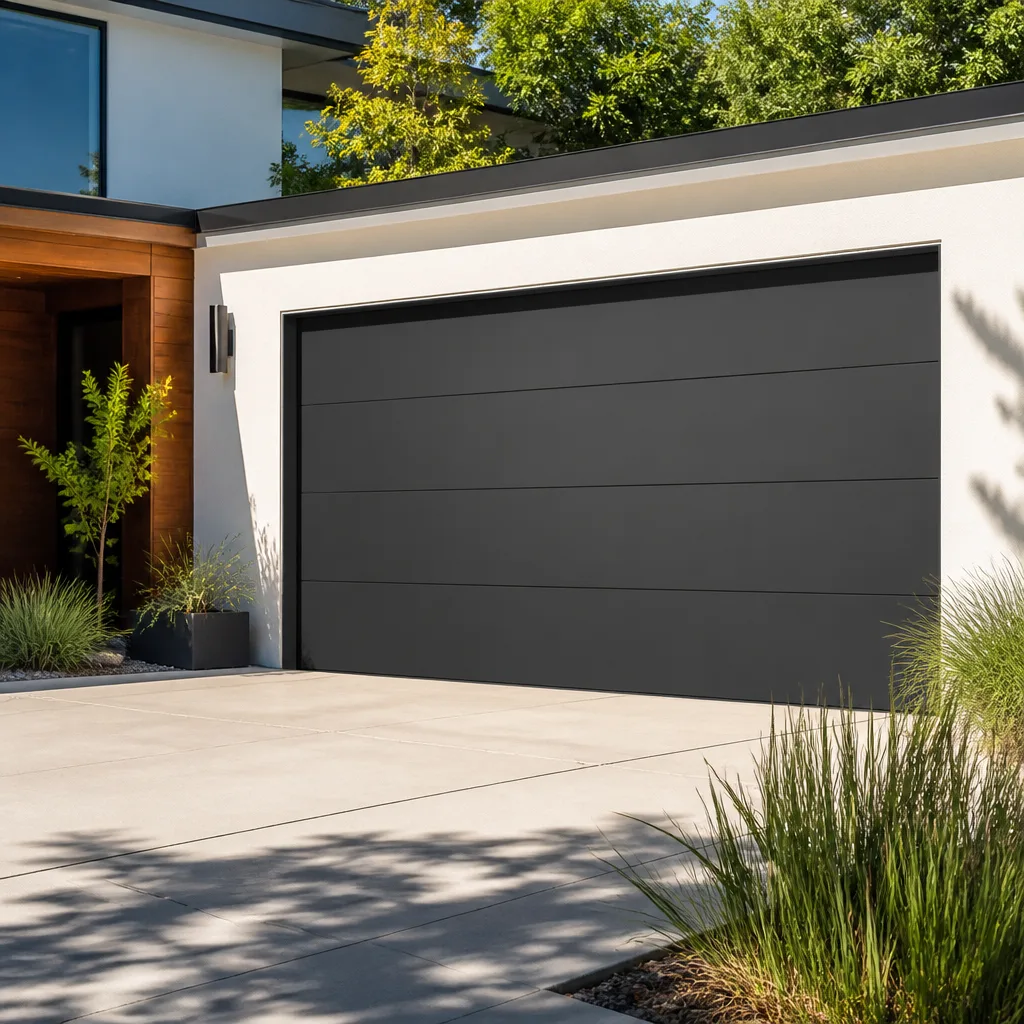 Modern flush
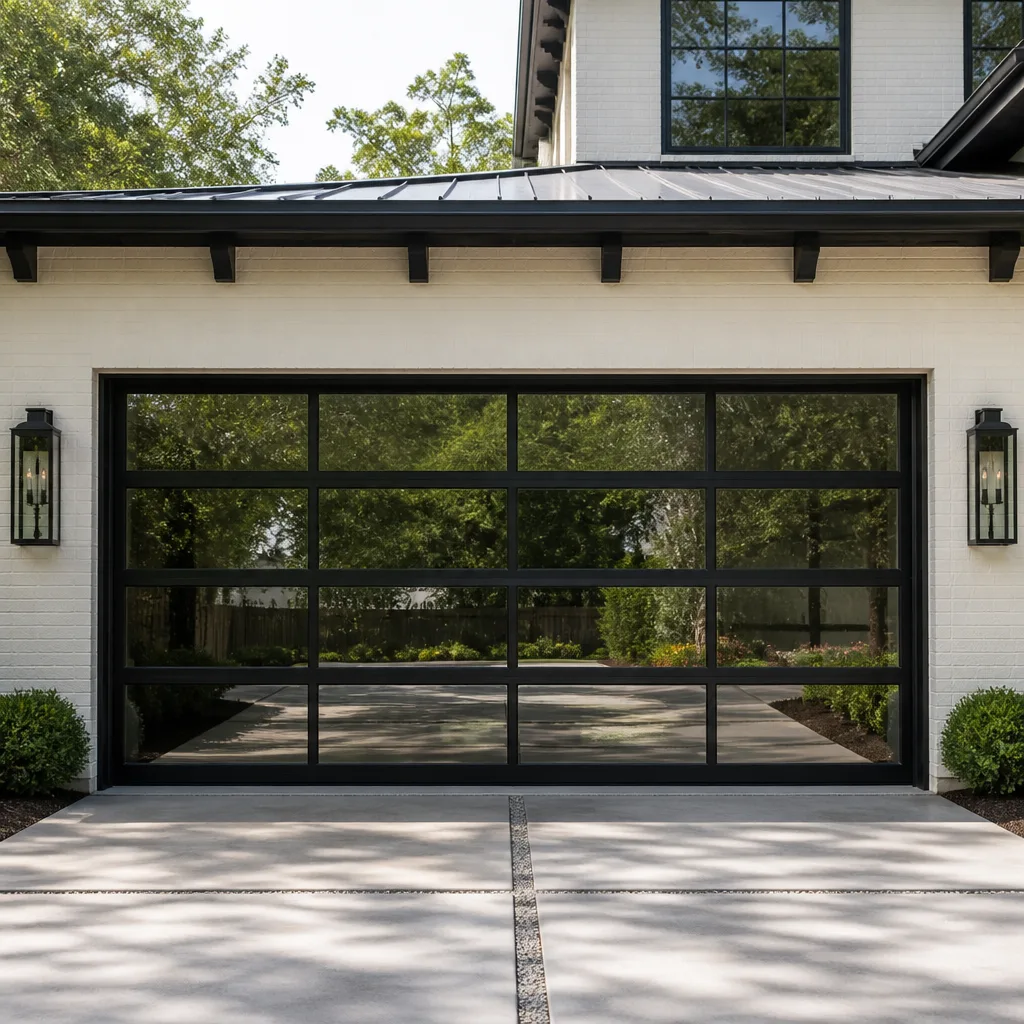 Full-view glass
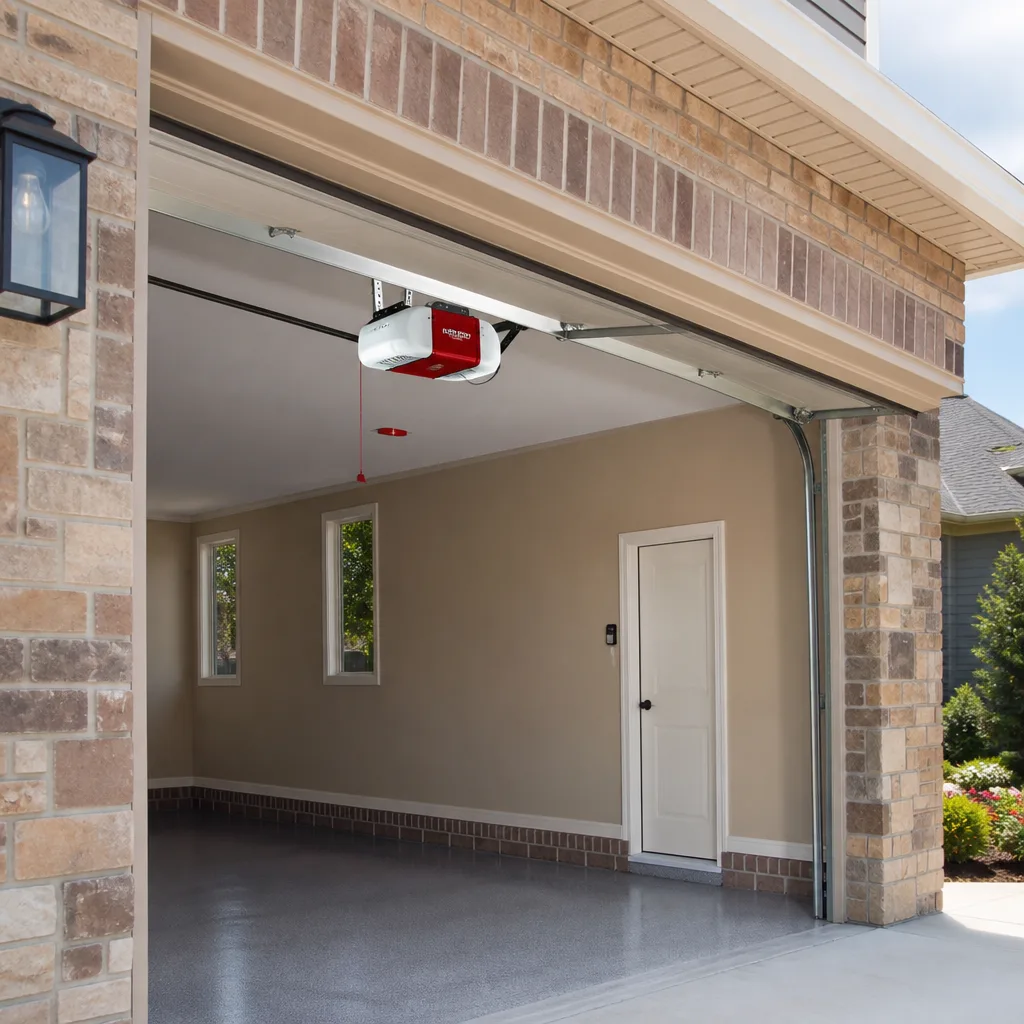 LiftMaster openers
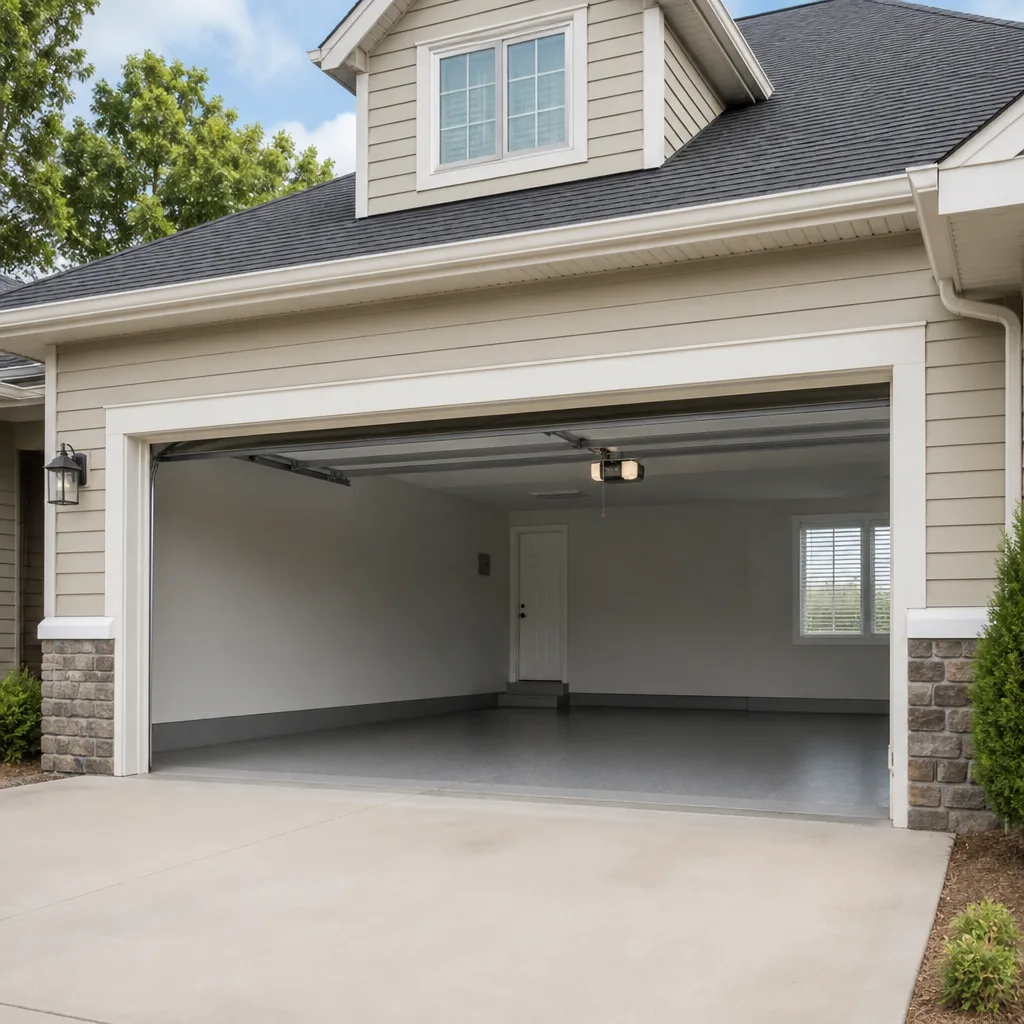 Chamberlain openers
Full 25-point door and opener safety check with every visit - springs, cables, rollers, tracks, and your LiftMaster or Chamberlain opener included
You get a price before we start. It does not change when the truck arrives.
Get your free estimateGarage Door Repair Troubleshooting: Common Problems and How to Fix Them
Here’s something most garage door guides won’t tell you: the single most common service call we get in Santa Ana – a door that “just stopped working” – is almost never a broken part. It’s a misaligned safety sensor that takes about four minutes to fix with nothing but a soft cloth and a steady hand. Technicians charge full dispatch fees for this daily. This guide goes deeper than a symptom checklist. We’ll explain why the symptom appeared, because treating the cause instead of the symptom is the difference between a $40 adjustment and a $400 repeat service call six months later. You’ll learn how to diagnose by what your door actually does, decode opener error patterns across major brands, and know precisely when to put down the tools and call someone who does this every day.
Styles & brands we work with
Quick Answer
Garage door troubleshooting starts by watching what the door does – won’t open, opens partway, reverses immediately, or makes noise without moving – then checking power, safety sensors, and the opener’s error code before touching any mechanical parts. Most “broken” doors in Santa Ana are fixed by realigning photo-eye sensors, replacing remote batteries, or clearing an obstruction from the track. Genuinely dangerous failures – broken torsion springs, snapped cables, or a door that falls when released – require our Garage Door Repair services, not a DIY fix.
Table of Contents
- Start Here: The Decision Tree for a Door That Misbehaves
- Why the Order of Operations Matters: Power and Sensors First
- Decoding Opener Error Patterns Across Major Brands
- The Logic Board Problem: When the Brain Fools You
- When Fixing One Symptom Masks a Dangerous Structural Failure
- Spring Failures in Santa Ana: Climate, Cycles, and Warning Signs
- Common Mistakes to Avoid
- When to Call a Professional
- Frequently Asked Questions
- The Bottom Line
Start Here: The Decision Tree for a Door That Misbehaves
Every troubleshooting guide should begin with the same question: what does the door actually do when you press the button? The answer routes you to the right diagnosis faster than any parts diagram. Here’s the decision tree we use on service calls across Santa Ana, from French Park to Morrison Park:
The door does nothing at all – no sound, no movement
This is a power or signal issue roughly 70% of the time. Check the opener’s power cord, the outlet’s GFCI reset, and the circuit breaker before touching anything else. If the opener has power but still does nothing, try the wall button instead of the remote. Wall button works but remote doesn’t? Battery or range. Neither works? The logic board or a blown fuse inside the opener chassis.
The door hums or buzzes but doesn’t move
You’re hearing either the motor straining against a locked door or the capacitor failing to start the motor. This is the classic “stripped gear” symptom on older Chamberlain and LiftMaster openers – the nylon gear inside the drive unit shreds and the motor just spins. On belt-drive units, a worn belt can slip silently while the motor runs. If you hear a hum followed by a click, that’s the thermal overload protecting the motor from a jammed door or snapped spring.
The door opens partway and stops
In our experience, this is usually a broken spring disguising itself as a “bad opener.” A door with one snapped torsion spring becomes too heavy for the opener to lift past the halfway point. The opener’s force sensor shuts it down to prevent motor burnout. The test: disconnect the opener (pull the red emergency release cord) and try lifting the door manually. If it’s heavy or won’t stay up, you have a spring problem, not an opener problem.
The door reverses immediately after touching the floor
This is almost always the close-force setting or the safety sensors. If the sensors are aligned and clean but the door still reverses at the floor, the travel limit needs adjustment – the door thinks it’s hitting something. On Genie openers, a rapidly blinking red light on the sensor itself is the giveaway. On LiftMaster units, watch for arrow-shaped LED indicators on the motor head.
The door makes noise but the panels don’t move
Broken cable, stripped gear, or a disconnected carriage. On screw-drive openers (common on older Genie models), the carriage can disconnect from the screw and the motor spins freely. On belt drives, a broken belt tension spring causes the same symptom. If the noise is grinding, you’re hearing stripped gears inside the opener.
This decision tree saves time because it forces you to observe before you act. Every minute you spend watching what the door does is a minute you don’t spend disassembling the wrong part. We’ve built our entire repair methodology at Royal Garage Door Co home around this principle – diagnose the behavior, then confirm the cause, then fix.
Why the Order of Operations Matters: Power and Sensors First
There’s a reason professional technicians in Santa Ana follow a strict diagnostic sequence, and it’s not pedantry. The order of operations protects you from two things: wasting time on mechanical components when the real problem is electrical, and creating a dangerous situation by disconnecting the wrong part first. Here’s the sequence we teach our own technicians, and the one you should follow before touching anything else:
- Confirm power at the outlet. Plug a lamp or radio into the opener’s outlet. No power? Check the GFCI reset button on the outlet itself and the circuit breaker panel. Santa Ana homes built before the late 1980s often have garage outlets on shared circuits with bathroom GFCIs – a tripped GFCI in a bathroom can kill the garage outlet.
- Check the opener’s own power indicator. Most modern openers have an LED on the motor head. Solid green or blue means power is fine. No light at all means the logic board isn’t receiving power – which could be a blown internal fuse or a failed board.
- Inspect the safety sensors. Two photo-eye units sit on either side of the door, about six inches off the floor. They must be aligned (facing each other directly) and clean. A leaf, cobweb, or dust film on the lens is enough to break the invisible infrared beam. In Santa Ana, where dry Santa Ana winds kick up fine dust in neighborhoods like Park Santiago and West Floral Park, dirty sensors are a year-round nuisance.
- Check the emergency release. The red hanging cord disconnects the door from the opener carriage. If it’s been pulled (even accidentally), the opener will run but the door won’t move. Reconnecting is simple but must be done with the door in the fully closed position.
- Only then move to mechanical components. Springs, cables, rollers, hinges – these are the last things to inspect, not the first. They’re also the most dangerous to work on, which is exactly why professionals leave them for last.
Reversing this order is the most common DIY mistake we see. Homeowners jump straight to the springs because that’s the part they’ve heard about, when the real problem was a tripped GFCI in the bathroom. Following the correct order means you solve the problem in minutes instead of creating a new one. It’s the same approach we take on every Garage Door Repair in Santa Ana call – power, sensors, then mechanical.
Decoding Opener Error Patterns Across Major Brands
Here’s where most generic guides fail: they describe one brand’s error codes and imply they’re universal. They’re not. A blinking light on a LiftMaster means something completely different from the same blinking pattern on a Genie. If you’re reading a guide that doesn’t distinguish between brands, you’re reading a guide that will send you down the wrong path. Here’s what the blink patterns actually mean on the brands you’re most likely to have in your Santa Ana garage:
LiftMaster and Chamberlain (same parent company, similar codes)
- LED arrow blinks 4 times, then pauses: Safety sensor misalignment or obstruction. This is the one we see most often. Clean the lenses, align them, and the code clears.
- LED arrow blinks 5 times: Motor overheated. Give it 15 minutes to cool down. If this recurs, the door is likely too heavy (spring problem) or the travel limits are set wrong.
- LED arrow blinks 1, 2, or 3 times: Logic board error. These require professional diagnosis – the board is reporting an internal fault, not a mechanical issue.
Genie
- Red light on the sensor blinks rapidly: Sensor misalignment or beam obstruction. Unlike LiftMaster, Genie puts the diagnostic light directly on the sensor unit itself.
- Opener light blinks 4 times: The door detected an obstruction during travel. Check for a bent track, a ladder leaning against the door, or debris in the track channel.
- Opener light blinks 3 times: The door traveled too far and hit the limits. Recalibrate the travel settings.
Craftsman (older models are re-badged Chamberlain, newer ones follow Chamberlain codes)
- Light blinks 10 times: Door is stuck or the opener is sensing excessive force. This is the “door too heavy” signal – almost always a spring issue.
- Light blinks 8 times: The safety sensor beam is blocked.
The point is this: a single blinking light pattern can mean a benign sensor issue or a failing logic board, and only brand-specific knowledge tells you which. Our technicians work with all eight major brands – LiftMaster, Chamberlain, Genie, Clopay, Amarr, Wayne Dalton, Craftsman, and Raynor – so the diagnosis is based on what your system actually uses, not what we happen to sell. If you’re reading a blink pattern you can’t identify, a quick call to a company that knows your brand beats an hour of guesswork.
The Logic Board Problem: When the Brain Fools You
Every garage door opener has a brain – a logic board that interprets sensor inputs, tracks travel limits, and decides when to start and stop the motor. When that board starts to fail, it doesn’t usually die all at once. It produces false symptoms that point to completely different problems. We’ve diagnosed failing logic boards that mimicked broken springs, misaligned sensors, and even power outages. Here’s how to recognize when the brain is lying to you:
Symptom: The door opens fine but won’t close, every time. What it looks like: Misaligned safety sensors. What it actually is (sometimes): A failing close-relay on the logic board. The board is not sending the “close” signal even when everything else is working.
Symptom: The door opens halfway and stops, consistently. What it looks like: A broken spring or travel limit issue. What it actually is (sometimes): A corrupted memory on the logic board that has “forgotten” the correct travel limits. Reprogramming works temporarily, then the board corrupts again.
Symptom: The remote works from five feet away but not from the street. What it looks like: Dead remote battery or antenna problem. What it actually is (sometimes): A weak receiver circuit on the logic board. The board’s radio receiver is failing, not the remote’s transmitter.
The tell is consistency. A mechanical problem – a spring, a cable, a bent track – behaves consistently. It happens every time. A failing logic board is intermittent. It works sometimes, fails other times, with no pattern you can find. If your door’s behavior seems to change randomly from day to day, that’s the signature of an electronic fault, not a mechanical one. This is exactly the kind of problem that gets misdiagnosed as “you need a new spring” when what you actually need is a board replacement. Our brand-agnostic approach at Royal Garage Door Co means we diagnose the actual cause, whether that’s a $40 sensor realignment or a board-level repair.
When Fixing One Symptom Masks a Dangerous Structural Failure
Here’s the uncomfortable truth about troubleshooting: sometimes the thing you fix isn’t the problem. It’s the symptom, and the actual problem is worse. We’ve seen homeowners “fix” a reversing door by cranking up the close-force setting, only to discover three months later that the real issue was a failing spring putting too much strain on the opener. Here are the symptom combinations that should stop you in your tracks:
The “I’ll just increase the force” trap. When a door reverses at the floor, the opener’s force sensor is doing its job – it detected too much resistance. Increasing the force setting bypasses that protection. If the resistance was caused by a broken spring or a bent track, you’ve now disabled the safety mechanism that was preventing a dangerous failure. The door might seem fixed, but you’ve traded a warning light for an accident waiting to happen.
The “the sensors were dirty” trap. You clean the sensors, realign them, and the door works again. But if those sensors were constantly getting dirty or misaligned, ask why. A door that shakes or vibrates (worn rollers, loose hinges, an unbalanced spring) will knock sensors out of alignment repeatedly. Fixing the sensor without fixing the vibration means you’ll be cleaning those sensors every two weeks.
The “the door is just old” trap. A door that’s been slowing down gradually over months isn’t just old. It’s telling you that a spring is losing tension, a bearing is wearing, or a cable is fraying. Gradual decline is a symptom of a specific component failing, not a generic condition of age. Identifying which component it is before it fails completely is what prevents the 6 AM emergency call when the door won’t open at all.
The principle is simple: every symptom has a cause, and sometimes the cause is one layer deeper than the symptom you just fixed. If you find yourself fixing the same thing twice in six months, you fixed the wrong layer. That’s the difference between a permanent fix and a repeat service call.
Spring Failures in Santa Ana: Climate, Cycles, and Warning Signs
Garage door springs are the most dangerous component in the entire system, and they fail more predictably in Southern California than almost anywhere else in the country. Here’s why: most residential torsion springs are rated for approximately 10,000 cycles (one open-and-close equals one cycle). In a mild climate like Santa Ana, where homeowners park in the garage and use the door as the primary entry point, a family can log 4 to 6 cycles per day. That’s 1,500 to 2,200 cycles per year – meaning a “10,000 cycle” spring lasts somewhere between 4 and 7 years, not the 10 to 15 years people expect.
In colder climates, garages are used less frequently in winter, so springs last longer by pure mathematics. In Santa Ana’s year-round driving weather, the door sees heavy use every single day. This is why we replace more springs in Orange County than technicians in Minnesota replace in the same period, adjusted for population.
Warning signs of an imminent spring failure:
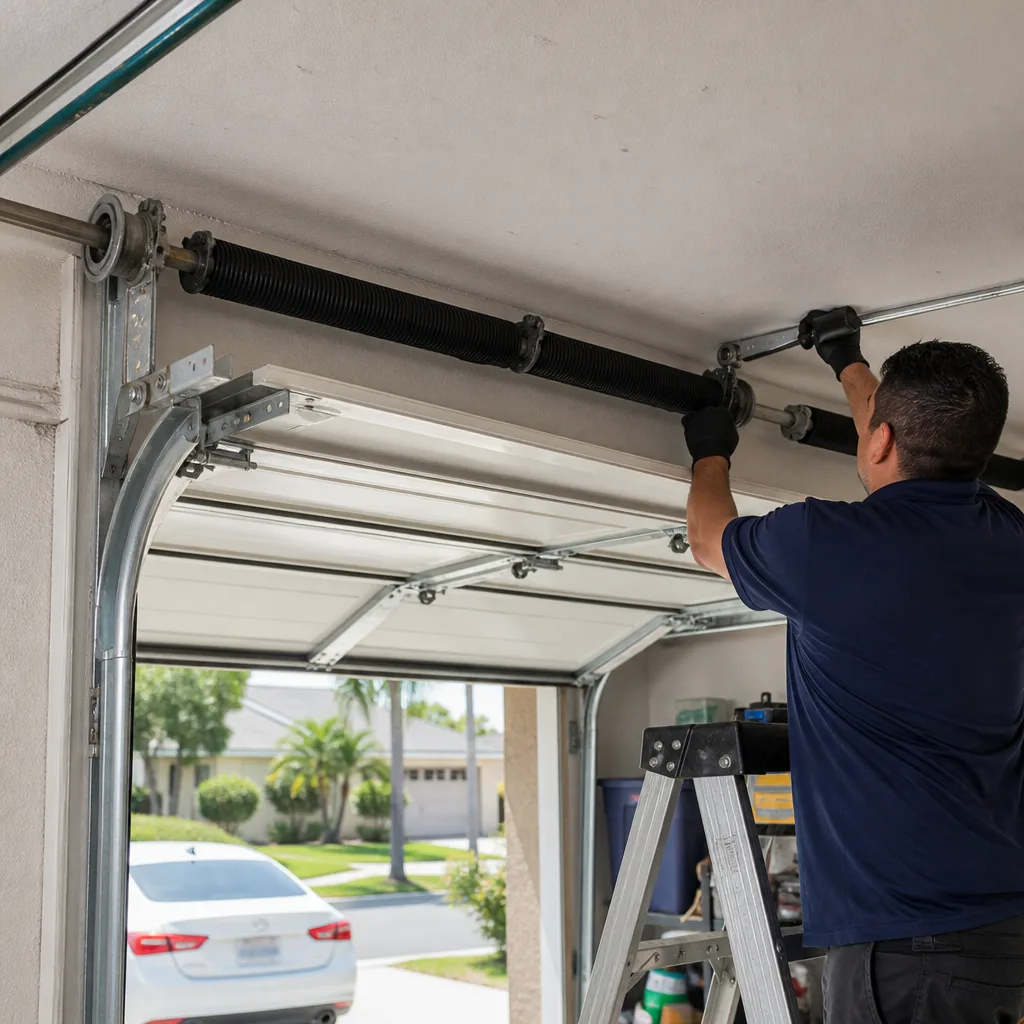
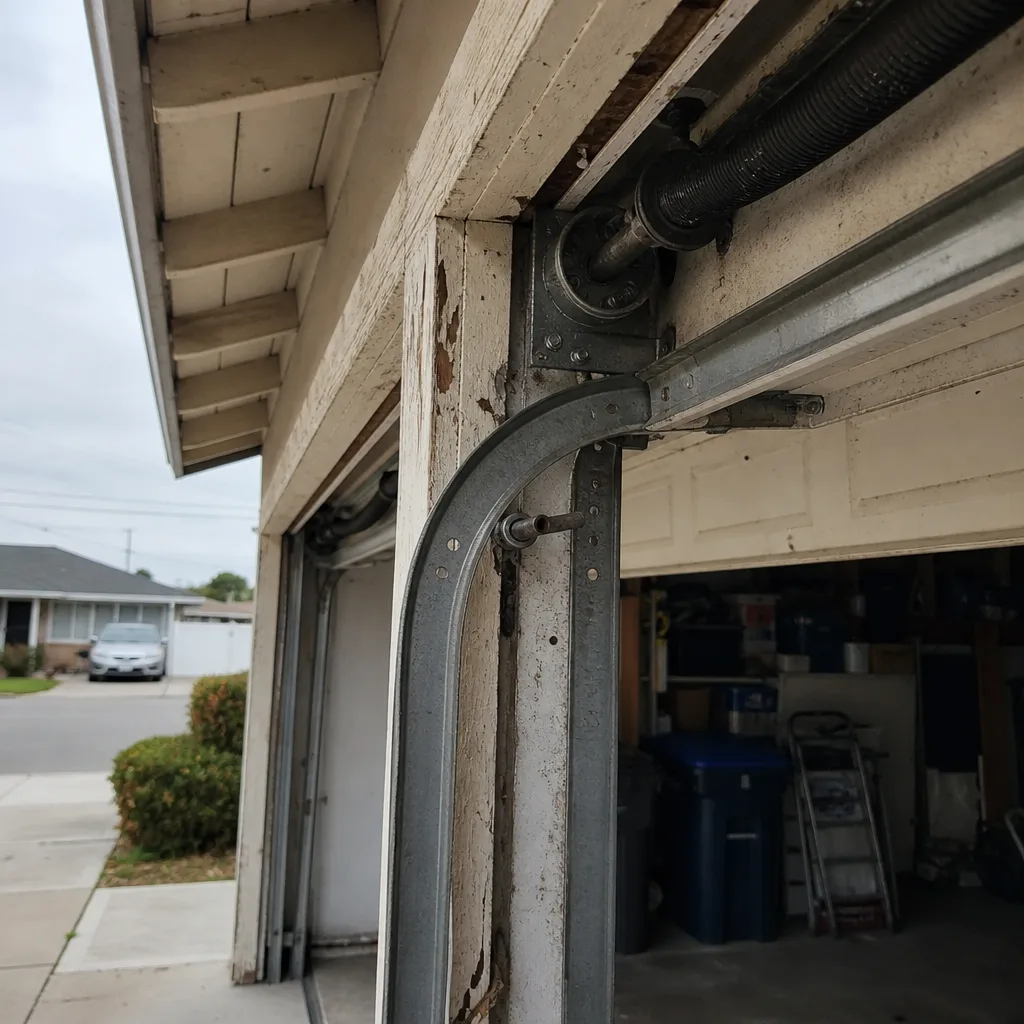
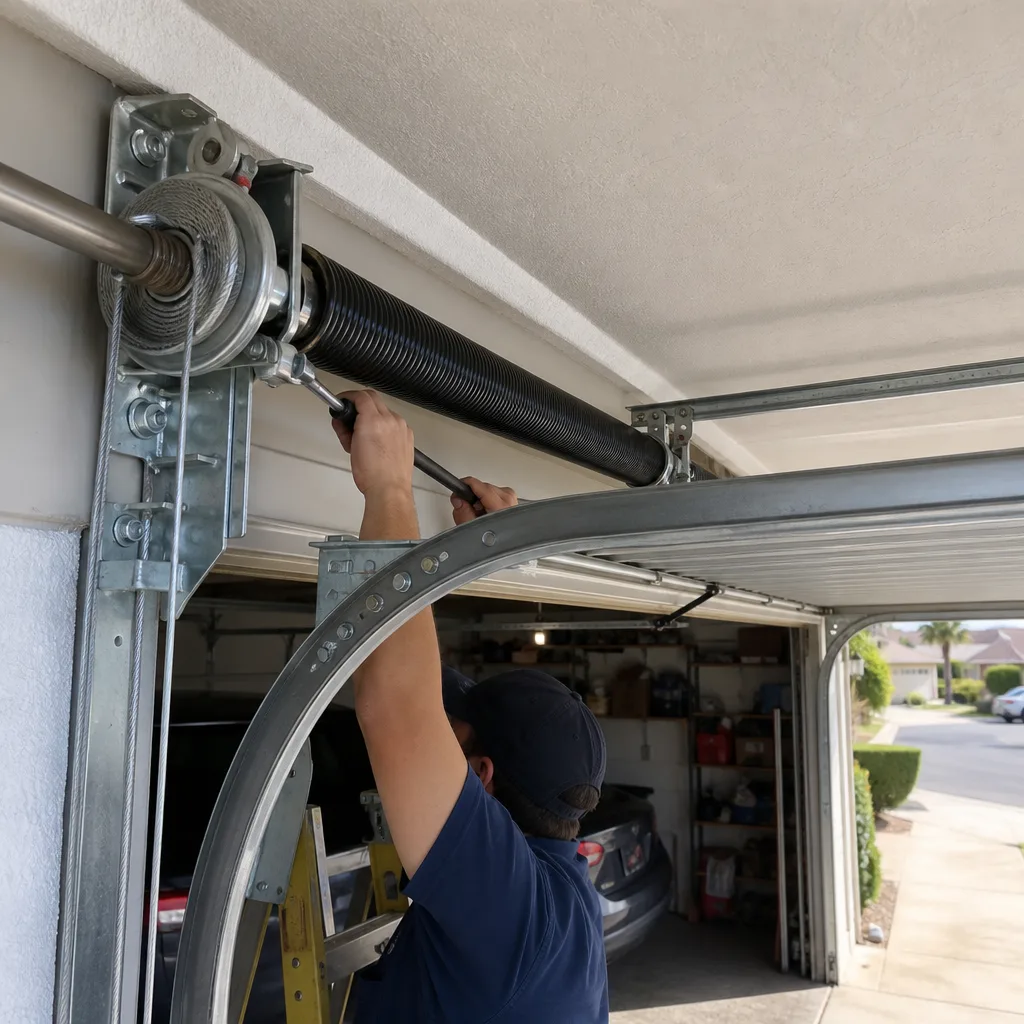
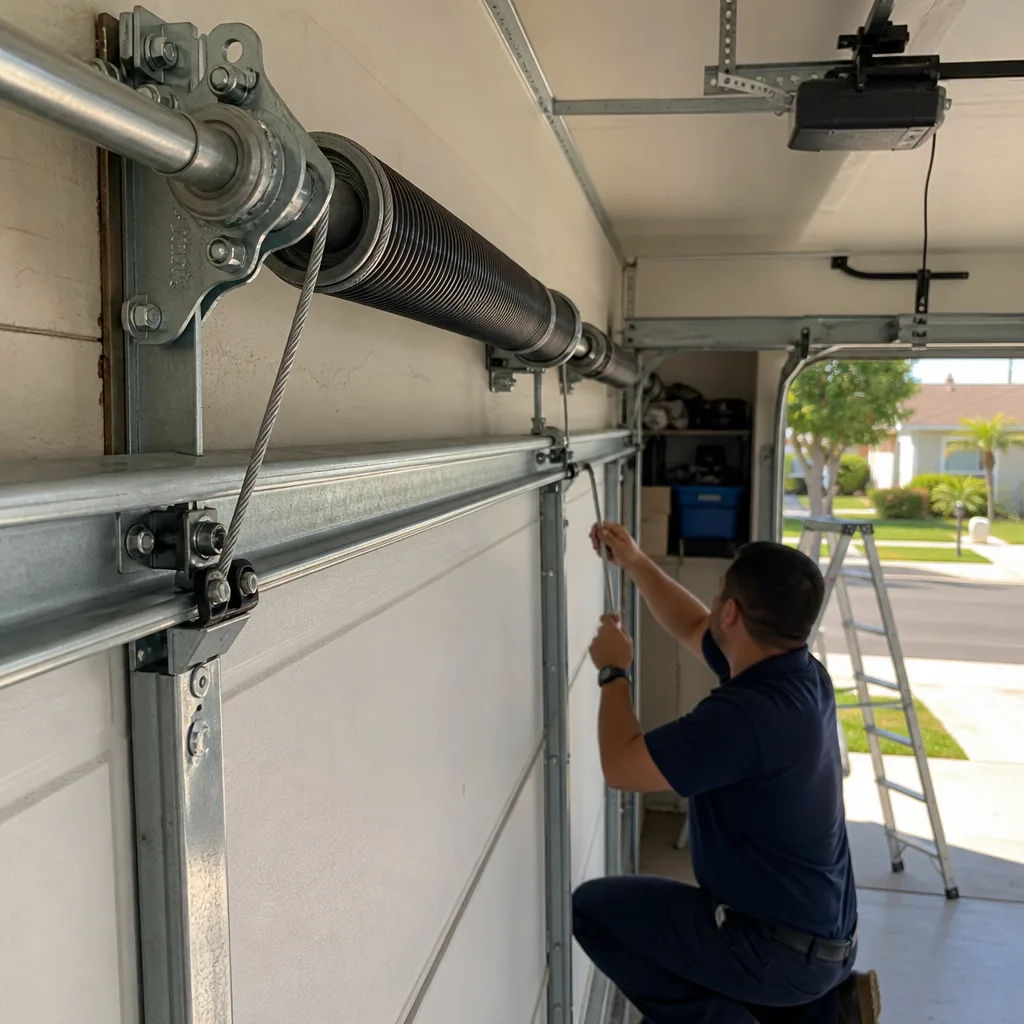
- A visible gap in the spring. Torsion springs sit on a bar above the door. If you see a 1/4-inch gap in the coil, the spring has already broken and is no longer under tension.
- The door feels heavy. Disconnect the opener and lift the door manually. A properly balanced door lifts easily with one hand and stays in place at the halfway point. If it’s heavy or drops, the spring has failed or is failing.
- Loud bang from the garage. A torsion spring snapping sounds like a gunshot. If you hear it and the door won’t open afterward, don’t try to force it – the opener will burn out fighting the weight.
- Door opens a few inches and stops. The opener’s force limiter is engaging because the dead weight of the door exceeds what the motor can safely lift.
Safety warning: Torsion springs are under hundreds of pounds of tension even when the door is closed. The metal bars used to wind and unwind them can become projectiles if they slip. This is not a component to work on without proper training and tools. Every year, homeowners are seriously injured attempting spring replacement. If your spring has failed or is showing warning signs, call a professional. This is a repair where the cost of a technician is cheap insurance against the cost of an emergency room visit.
Common Mistakes to Avoid
- Skipping the power check and going straight to the springs. The GFCI in your bathroom controls the garage outlet in many older Santa Ana homes. Check the outlet before you call a technician or start disassembling anything – a tripped GFCI costs nothing to reset, and it’s the culprit more often than you’d believe.
- Adjusting travel limits without noting the original positions. If you loosen the limit screws with no record of where they started, recalibrating becomes guesswork. Mark the positions with a pencil or take a photo before you turn anything.
- Lubricating the track. Garage door tracks are not meant to be lubricated. Oil on the track attracts dust and grime, which makes the rollers bind worse, not better. Lubricate the rollers, hinges, and springs – not the track itself.
- Using WD-40 on everything. WD-40 is a solvent, not a long-term lubricant. For garage door components, use a white lithium grease or a dedicated garage door lubricant. WD-40 will work for about a week and then wash away the actual lubricant that was there before.
- Ignoring a door that’s been “a little slow” for months. Slowness is a symptom. It means something is wearing, sticking, or losing tension. By the time a slow door stops working entirely, you’ve usually turned a minor adjustment into a major repair.
- Trying to replace a spring with YouTube confidence. The video makes it look easy. The video doesn’t show the ER visits. Torsion springs have seriously injured experienced technicians who momentarily lost focus. This is the one repair where “I’ll figure it out” is genuinely dangerous.
- Assuming all opener error codes are the same. A LiftMaster blinking four times means something different from a Genie blinking four times. If the guide you’re reading doesn’t name the brand, find a different guide.
When to Call a Professional
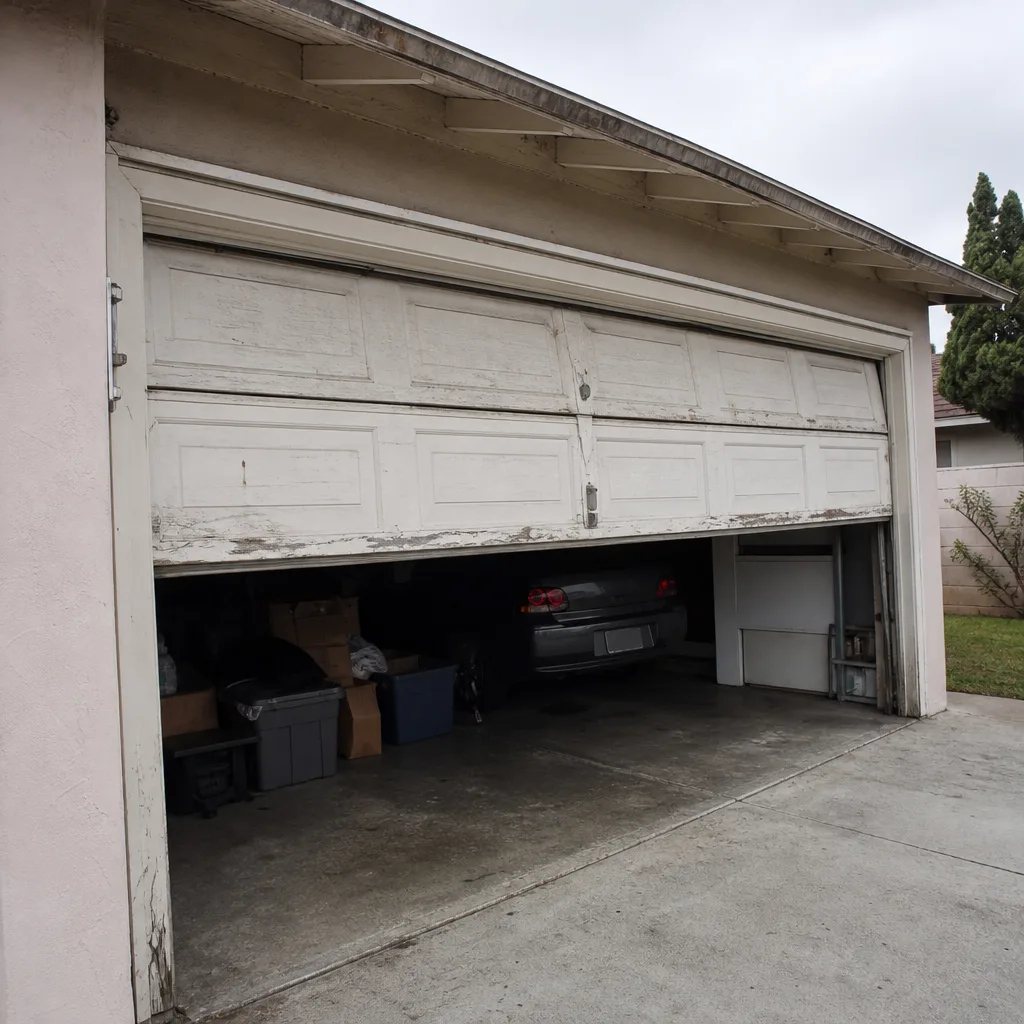
Some problems are worth fixing yourself – cleaning sensors, replacing remote batteries, tightening loose hinges. Others are genuinely dangerous and should never be attempted without training and proper tools. Here’s the line: if the repair requires touching a spring, a cable under tension, or the opener’s internal mechanism, call someone who does this professionally. See our How to Hire a Garage Door Contractor in Santa Ana: A Step-by-Step Guide for what to look for. Broken torsion springs, snapped cables, and door panels that have come off their tracks are all injuries waiting to happen. A garage door weighs 150 to 250 pounds, and a spring under tension stores enough energy to do serious damage to a human body.
If you’re in Santa Ana and you’re dealing with a spring failure, a snapped cable, or an opener that’s stopped responding entirely, Garage Door Opener Repair in Santa Ana is available with free estimates and upfront pricing – call (866) 808-7312. Royal Garage Door Co offers free estimates in Santa Ana. The estimate is free, and the price is quoted and agreed before any work starts – no surprises, no invoices that don’t match the quote.
Frequently Asked Questions
This is almost always a safety sensor issue – either the photo-eyes are misaligned, dirty, or blocked, or the close-force setting is too low. On LiftMaster and Chamberlain openers, a blinking arrow LED on the motor head confirms a sensor fault. Clean the sensor lenses, make sure they’re facing each other directly, and check for anything blocking the beam. If the door still won’t close, the travel limits may need recalibration. Call (866) 808-7312 for a free estimate if the sensors check out and the problem persists.
Minor repairs – sensor realignment, roller replacement, hinge tightening, travel limit adjustments – typically run between $95 and $180 in Santa Ana. Spring replacement runs $180 to $380 depending on the spring size and door weight. Opener logic board replacement runs $150 to $300. The price is quoted and agreed before any work starts. Call (866) 808-7312 for an exact quote – estimates are free.
Yes, in most cases. Sensor problems, broken cables, and spring replacements are repairs we handle on the first visit, and we carry common parts for LiftMaster, Chamberlain, Genie, Craftsman, and other major brands on the truck. Call (866) 808-7312 to check same-day availability in Santa Ana.
Grinding usually means stripped gears inside the opener’s drive mechanism, especially on older Chamberlain and LiftMaster units that used nylon gears. If you hear grinding, stop using the opener immediately – continuing to run it will shred the remaining gear teeth and may damage the motor. This is a repair that requires opening the opener chassis, which we recommend leaving to a professional.
Springs rated for 10,000 cycles typically last 4 to 7 years in Santa Ana, where daily use in a mild climate means more cycles per year than in colder regions. If your door uses 4 to 6 cycles per day, you’re putting 1,500 to 2,200 cycles on the springs annually. Have the springs inspected at the 5-year mark as a preventive measure.
No. The quote we give you before starting work is the price you pay, unless you approve additional work after we’ve diagnosed something unexpected. We quote upfront, confirm before we touch anything, and there’s never a surprise on the invoice.
The Bottom Line
Garage door troubleshooting is a skill, and like any skill, it starts with observation. Watch what the door does. Check power and sensors before touching mechanical parts. Learn your opener’s specific error codes. And above all, recognize when a symptom is masking a deeper issue – because the door that gets “fixed” without understanding the cause will break again, and usually at the worst possible time. The difference between a $40 adjustment and a $400 repeat call is knowing which layer of the problem you’re actually solving. For more guides & resources, explore our blog. If you’re in Santa Ana and you’d rather skip the guesswork, call (866) 808-7312 for a free estimate. Your door, our expertise – one call, one visit, one solution.
Written by the team at Royal Garage Door Co, serving Santa Ana since 2016.
See the difference
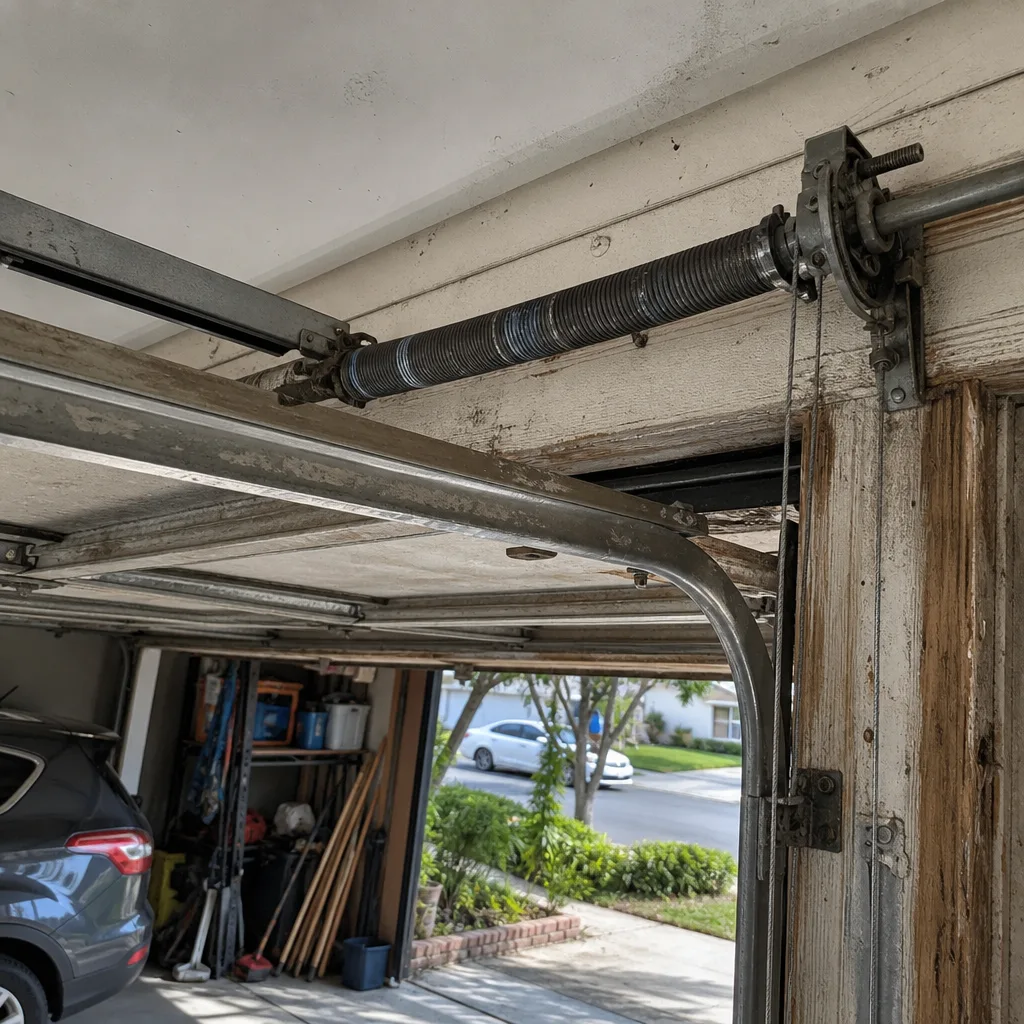 Before
 After
 Before
 After
 Before
 After